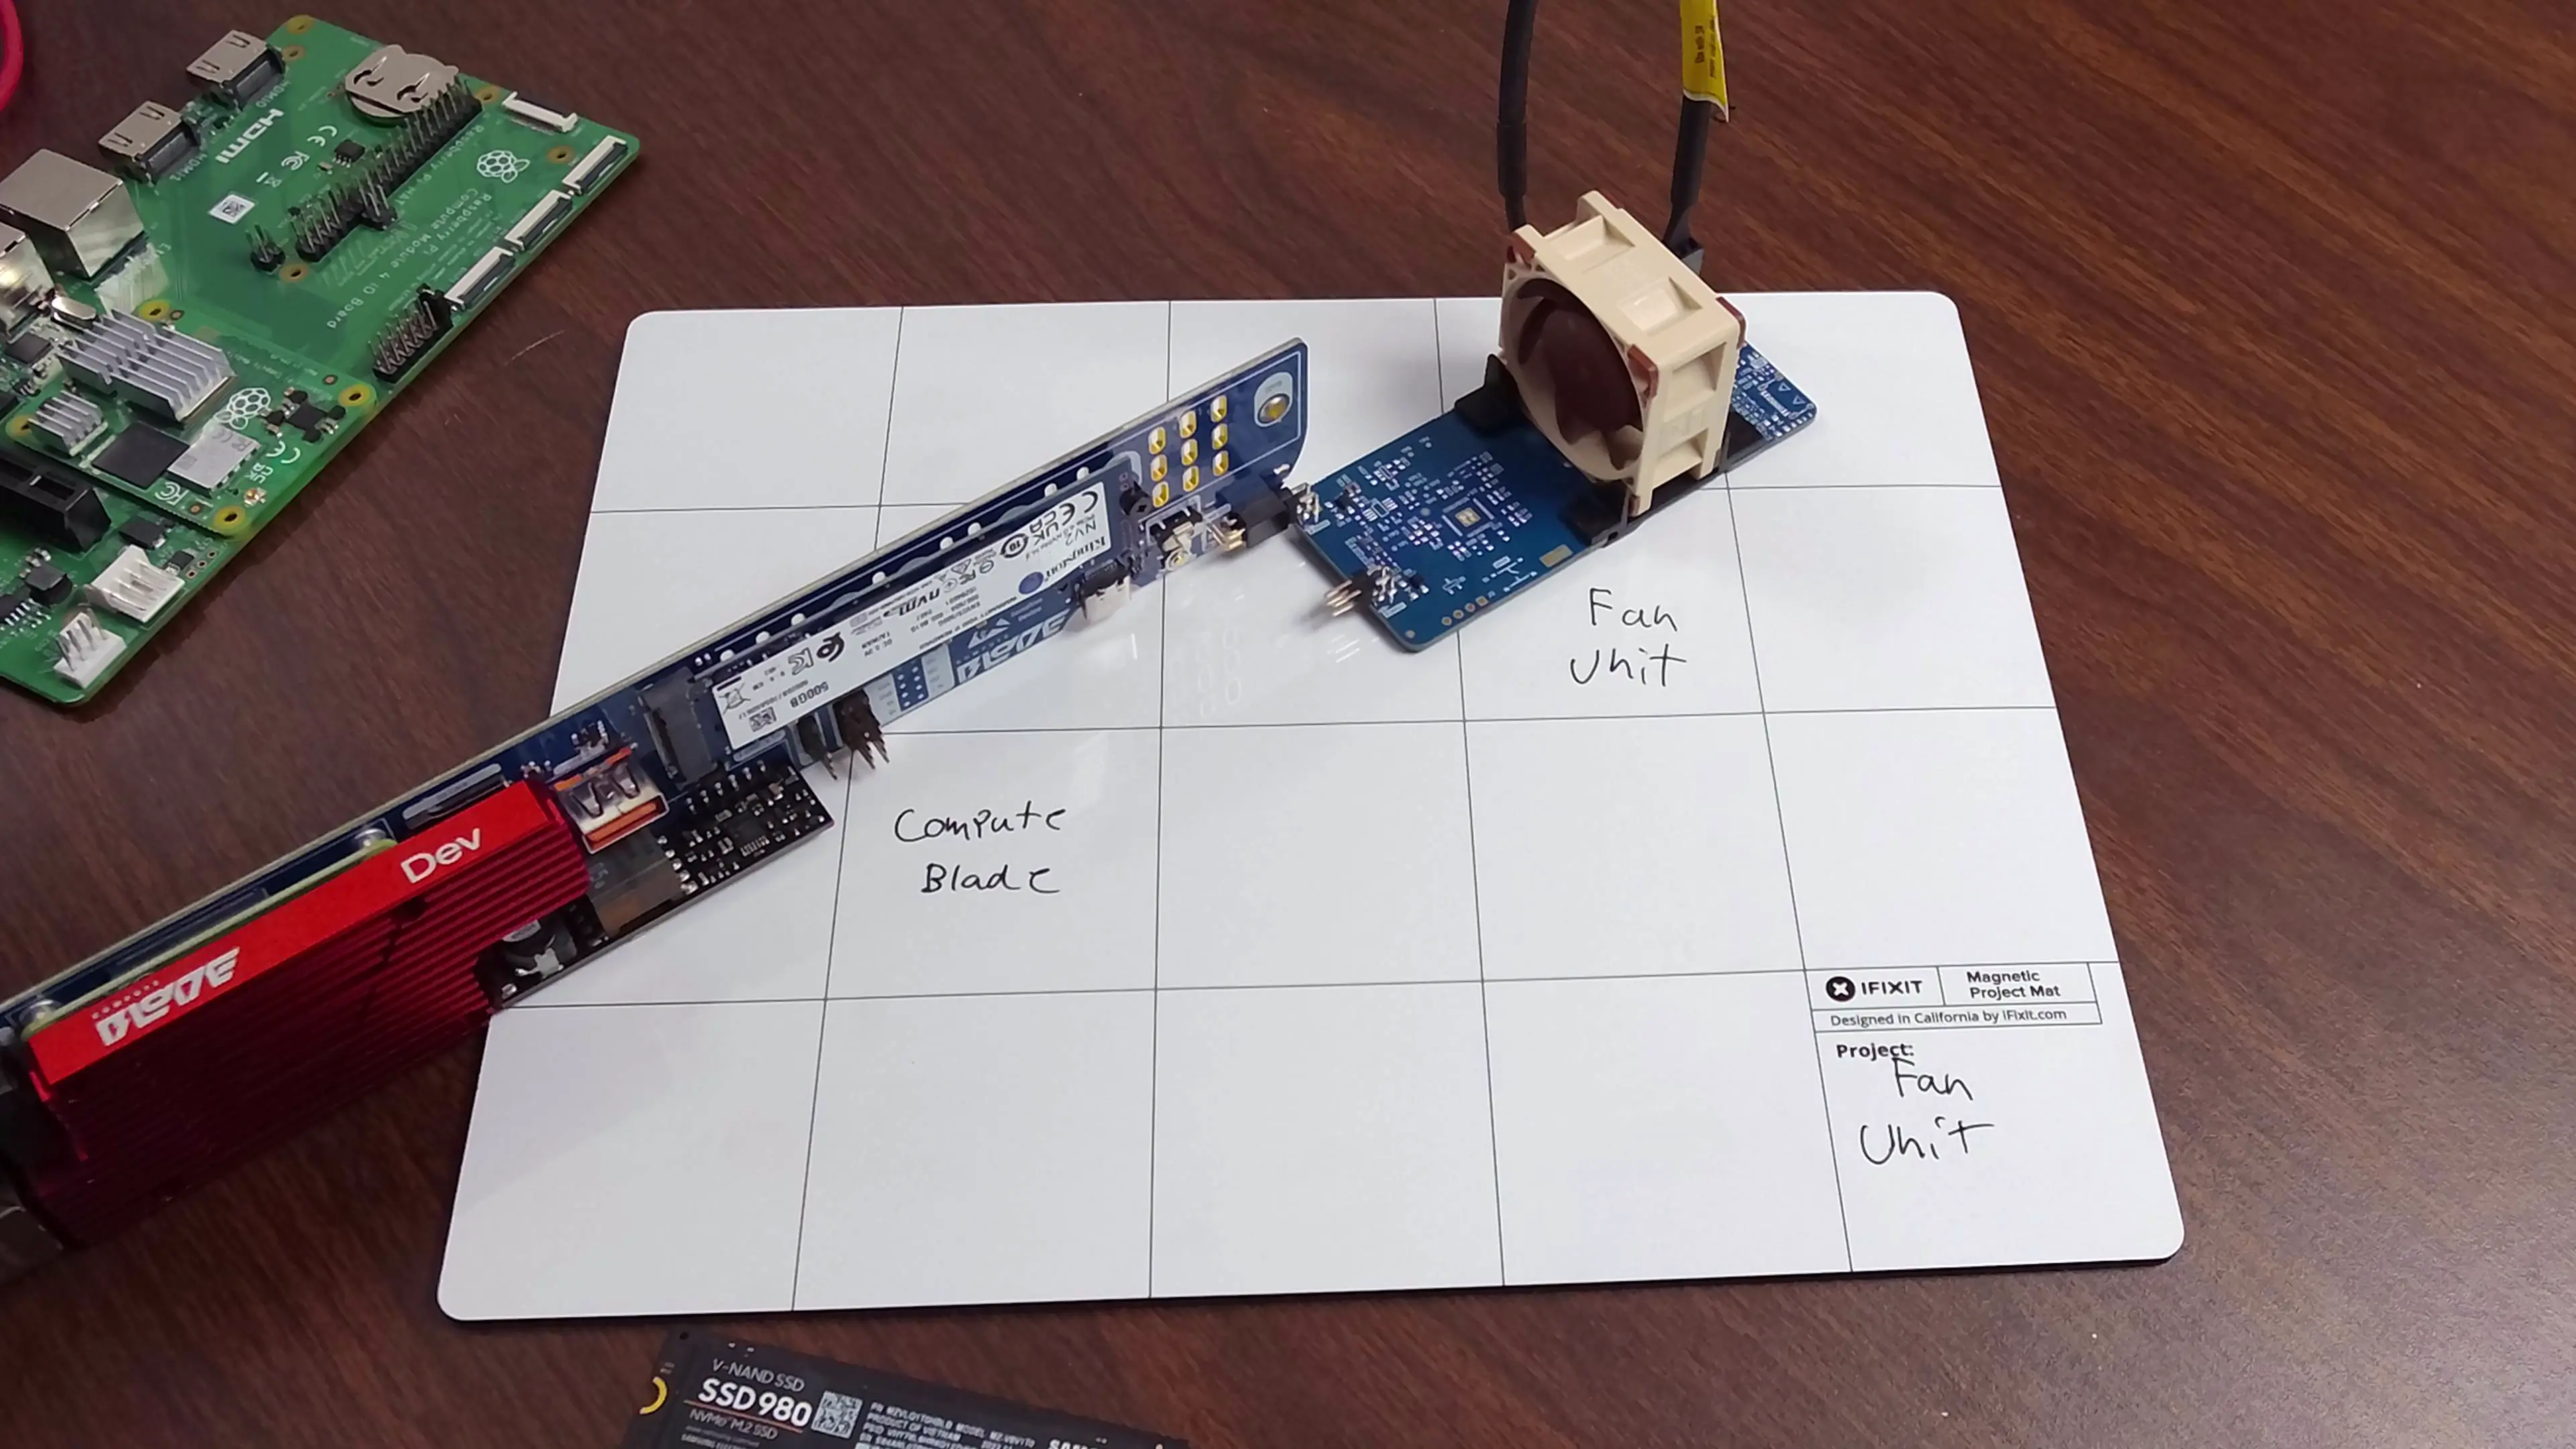
Assembly
The assembly process for both the Standard and Smart Fan Units are the same
Fan Units will come in four parts:
- Fan Unit board
- Left Bracket
- Right Bracket
- 5V Fan
The Fan Unit is designed for a 5V fan like the Noctua NF-A4x20 5V PWM
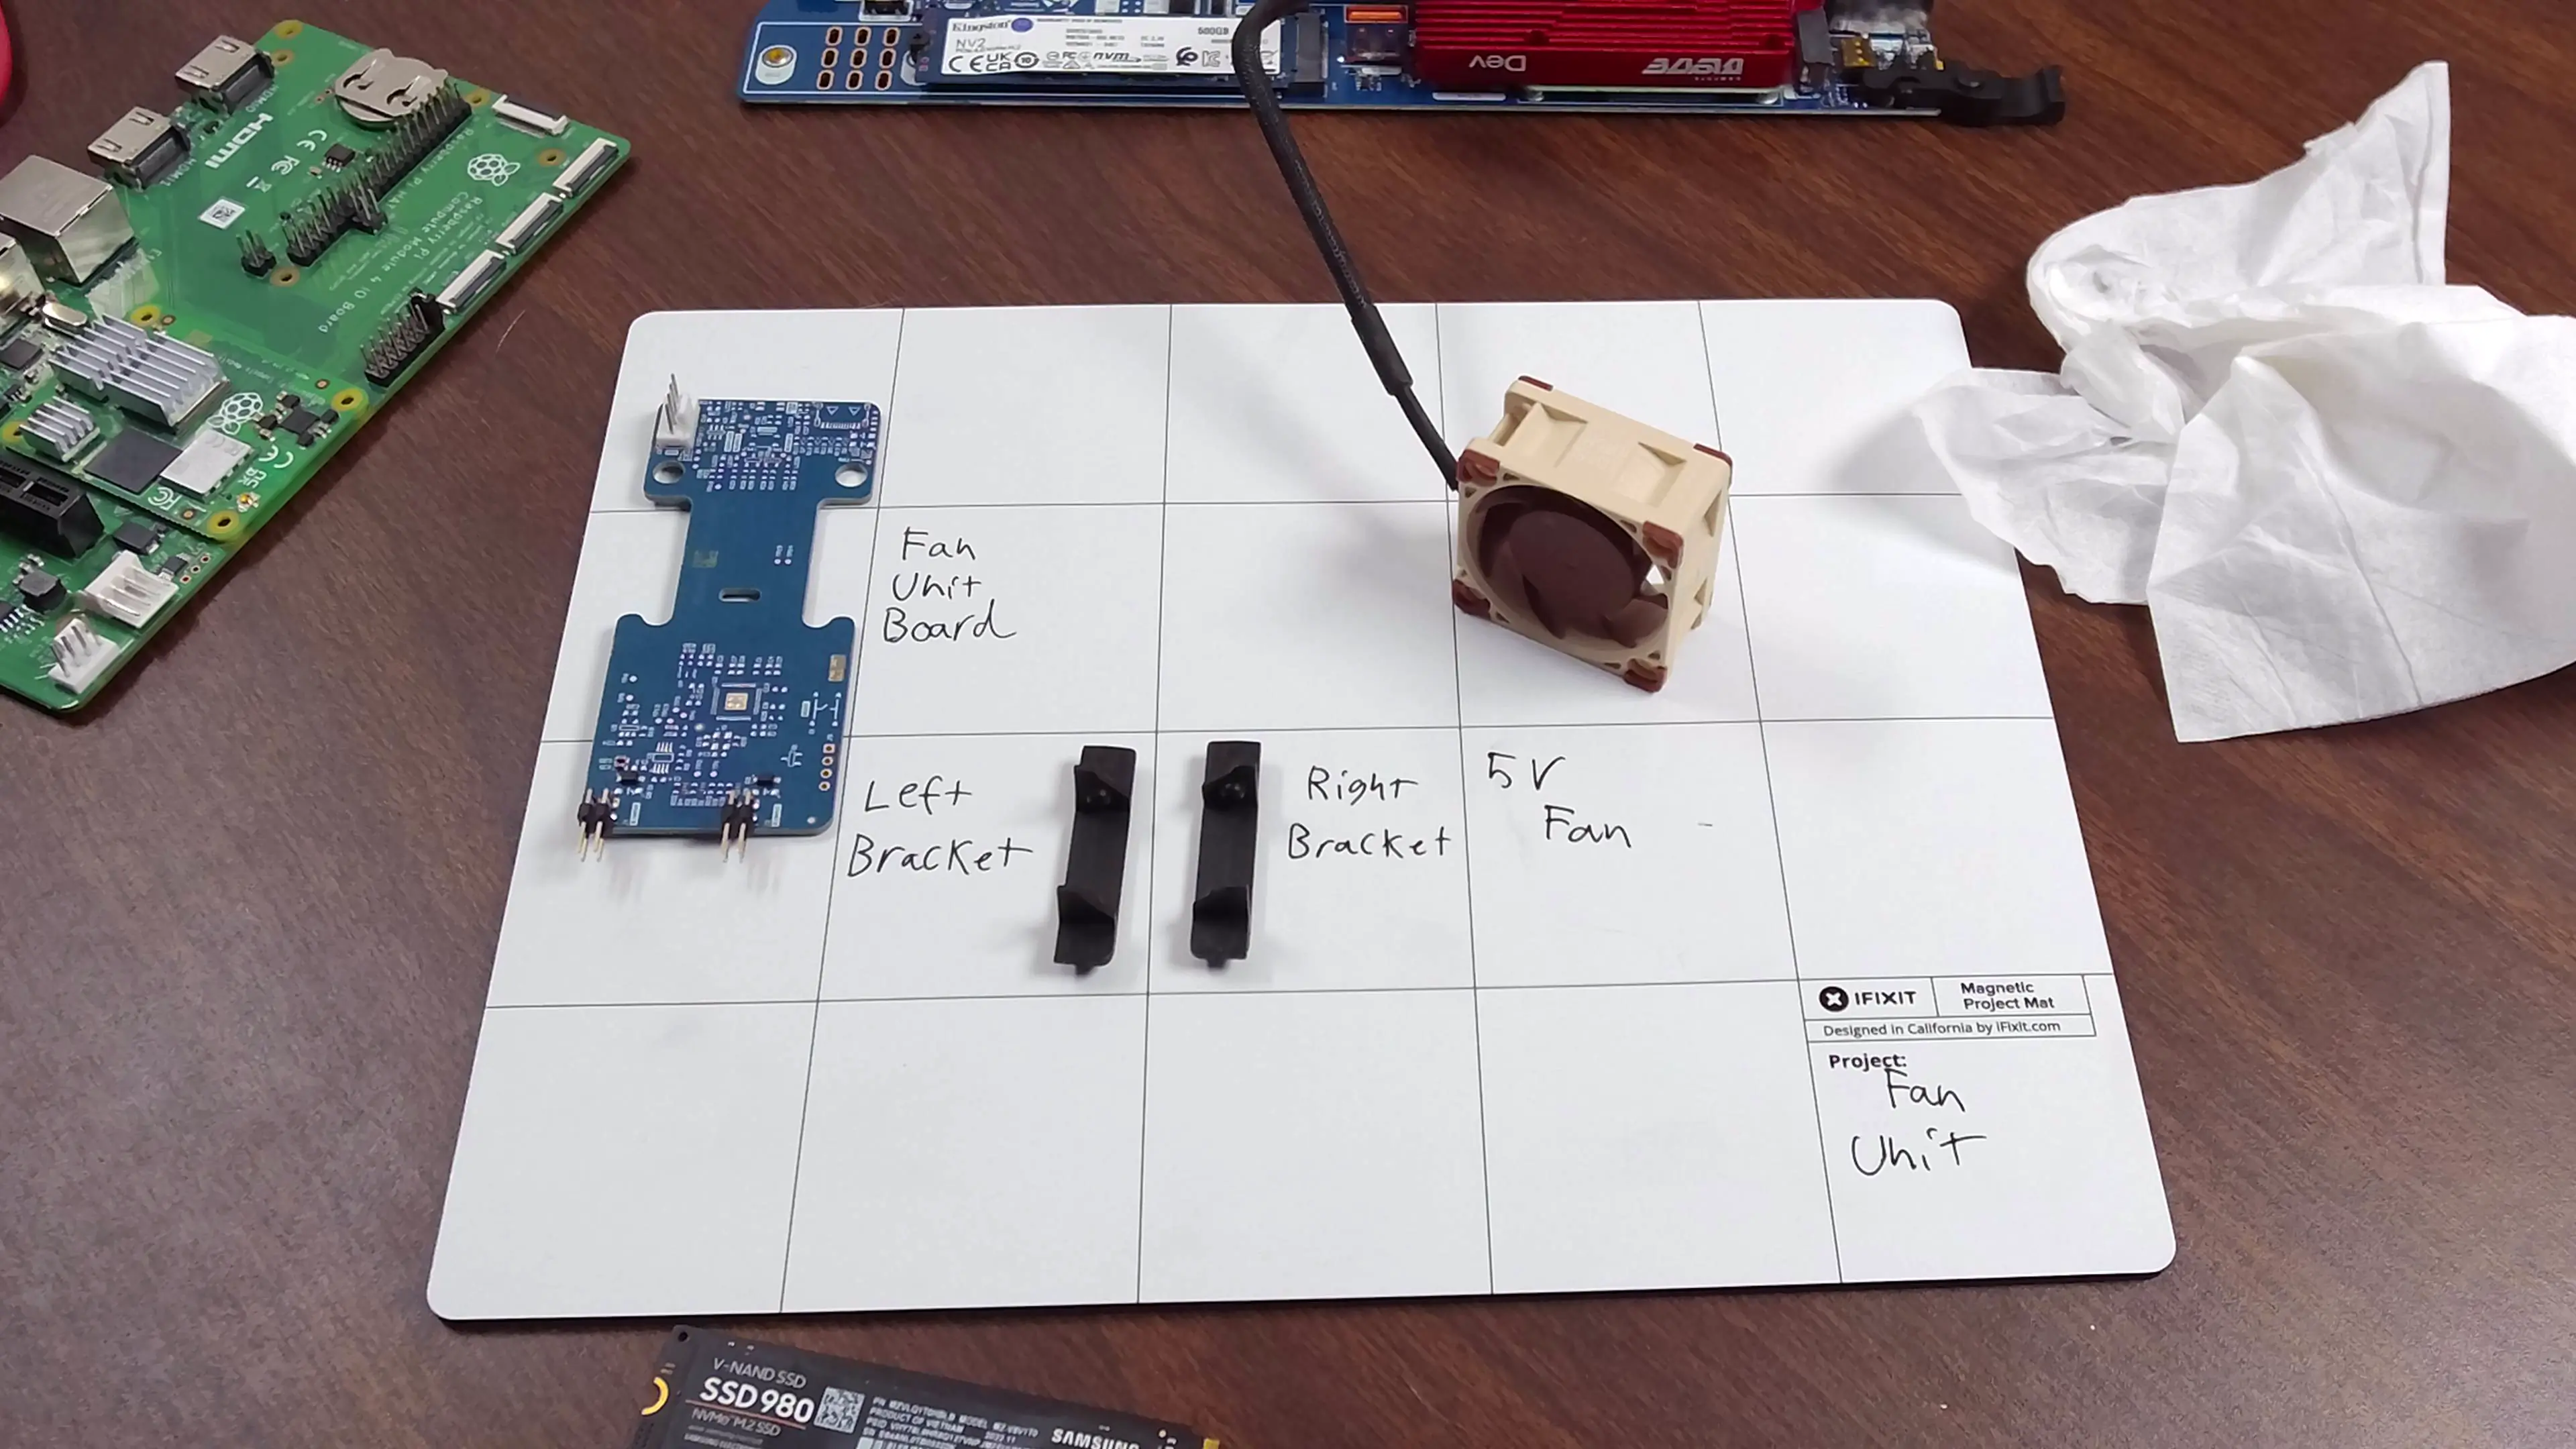
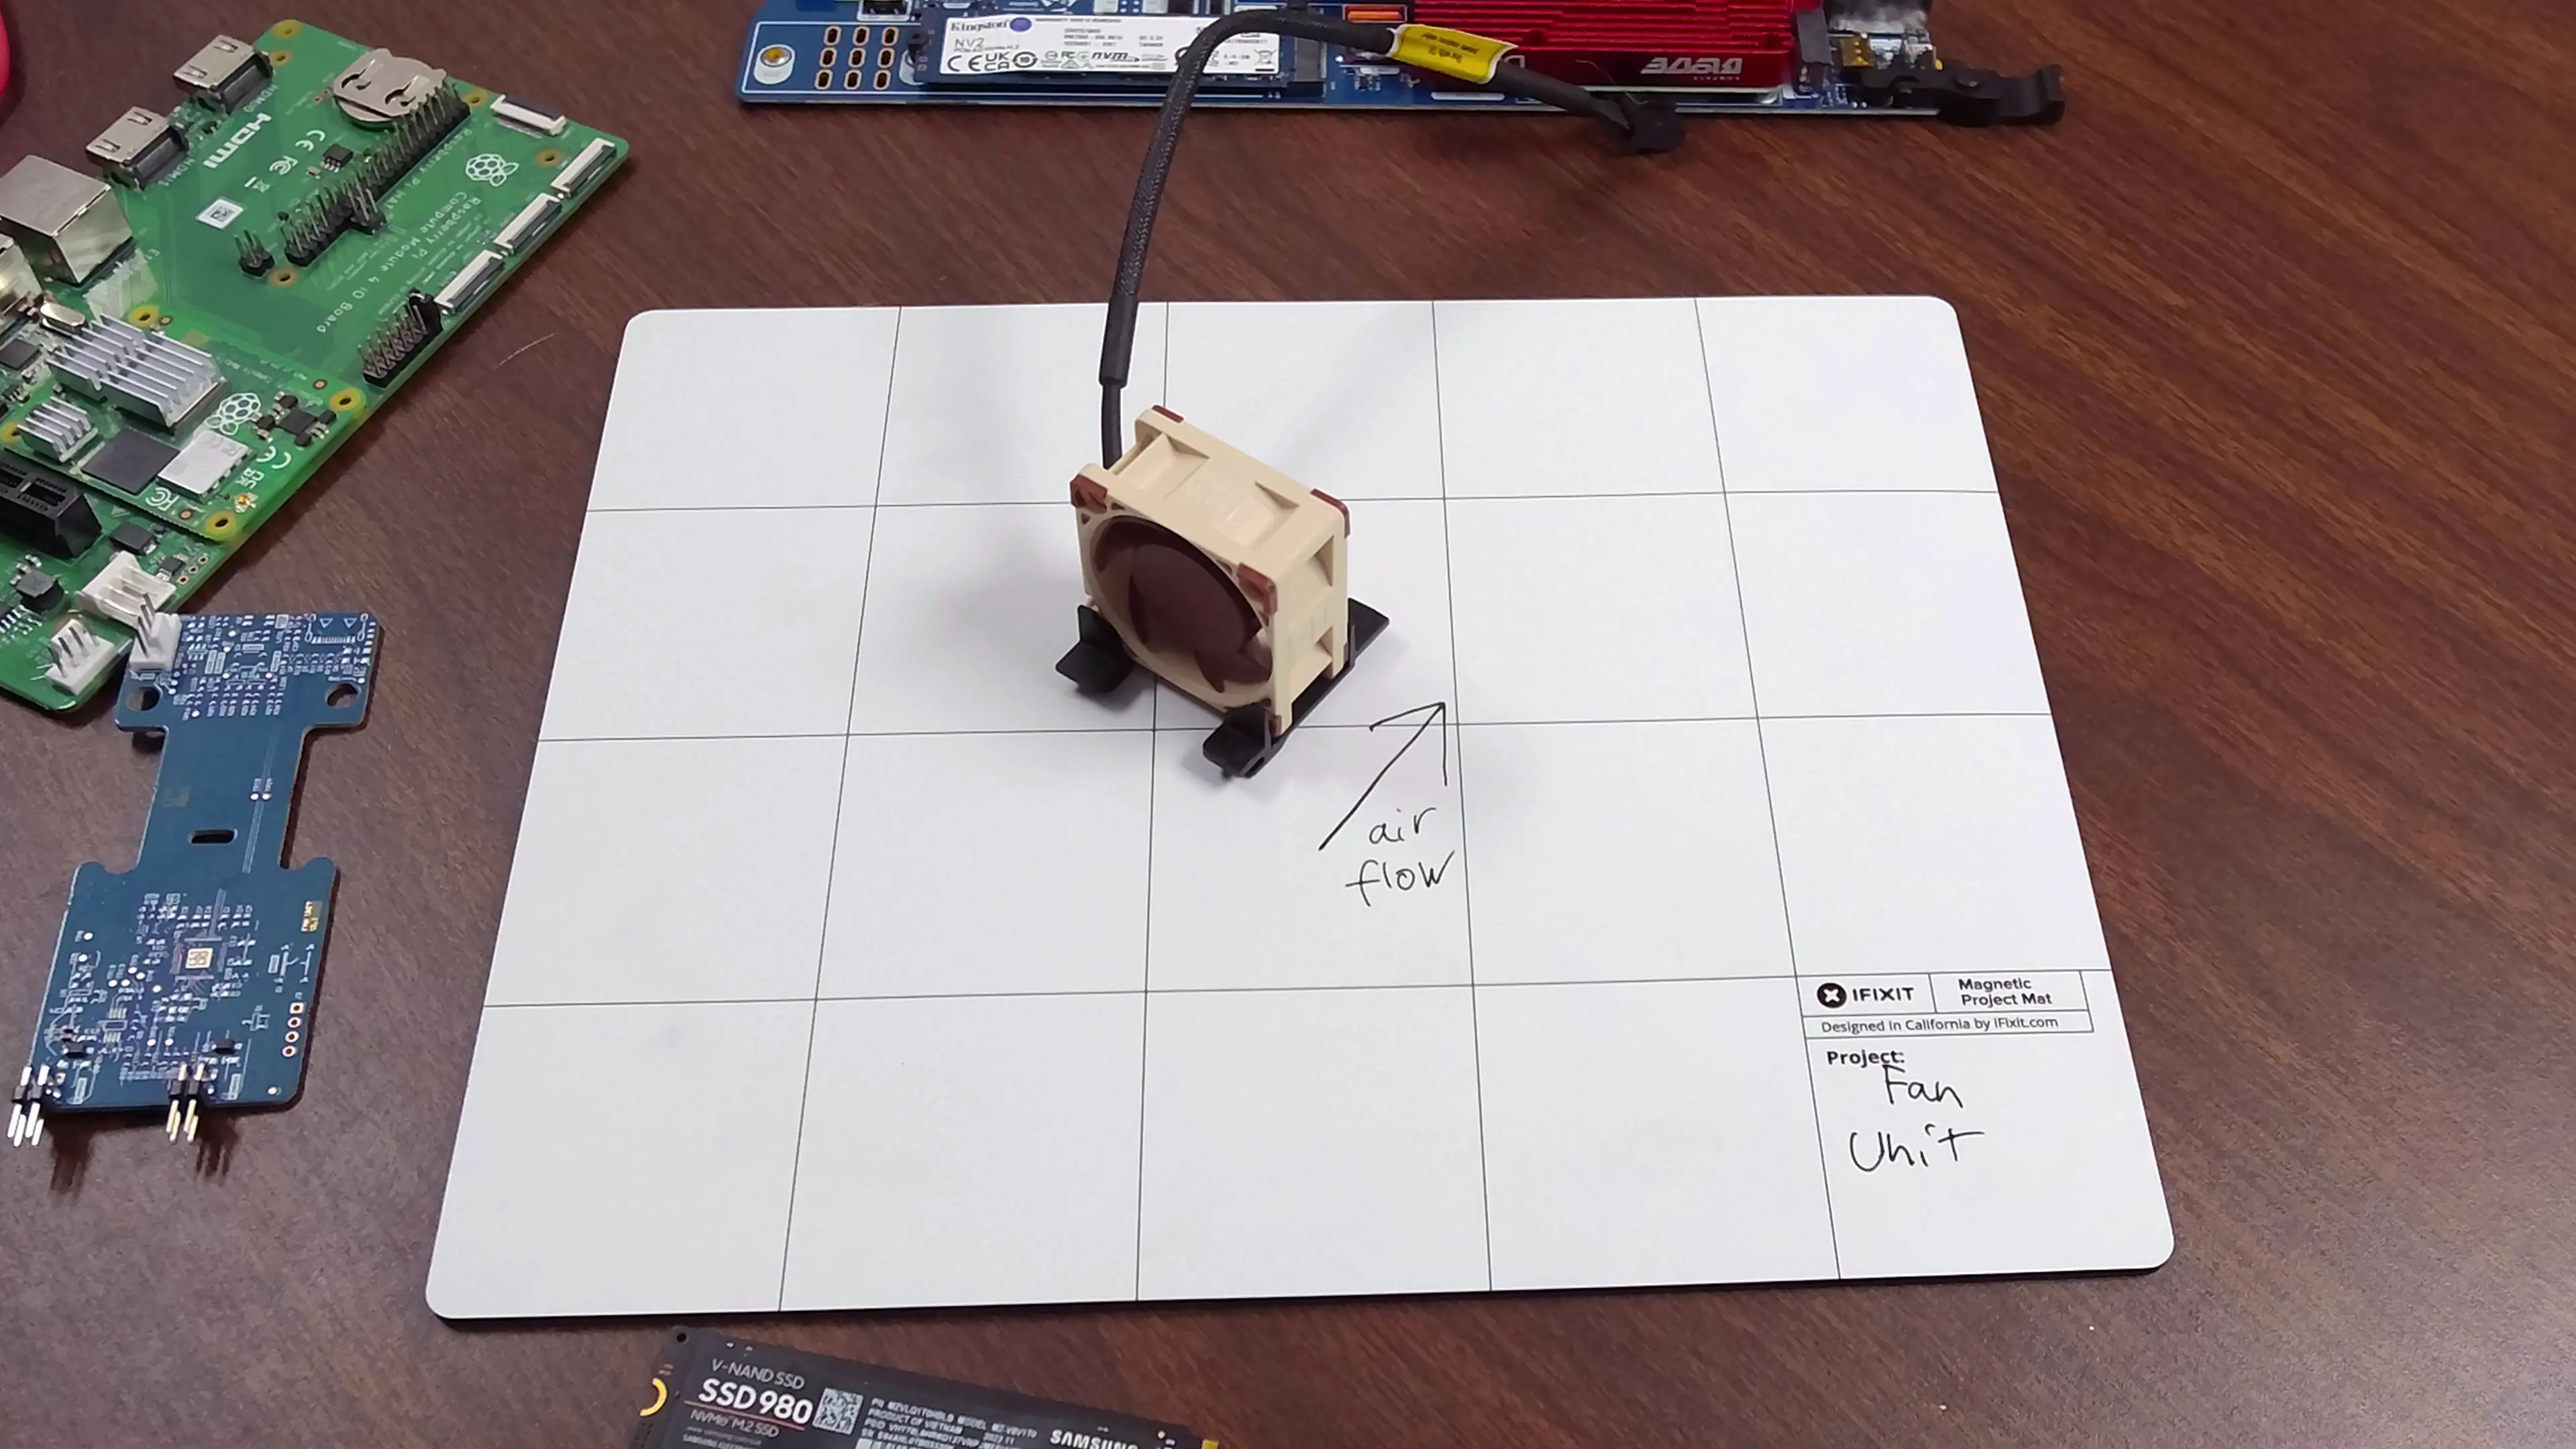
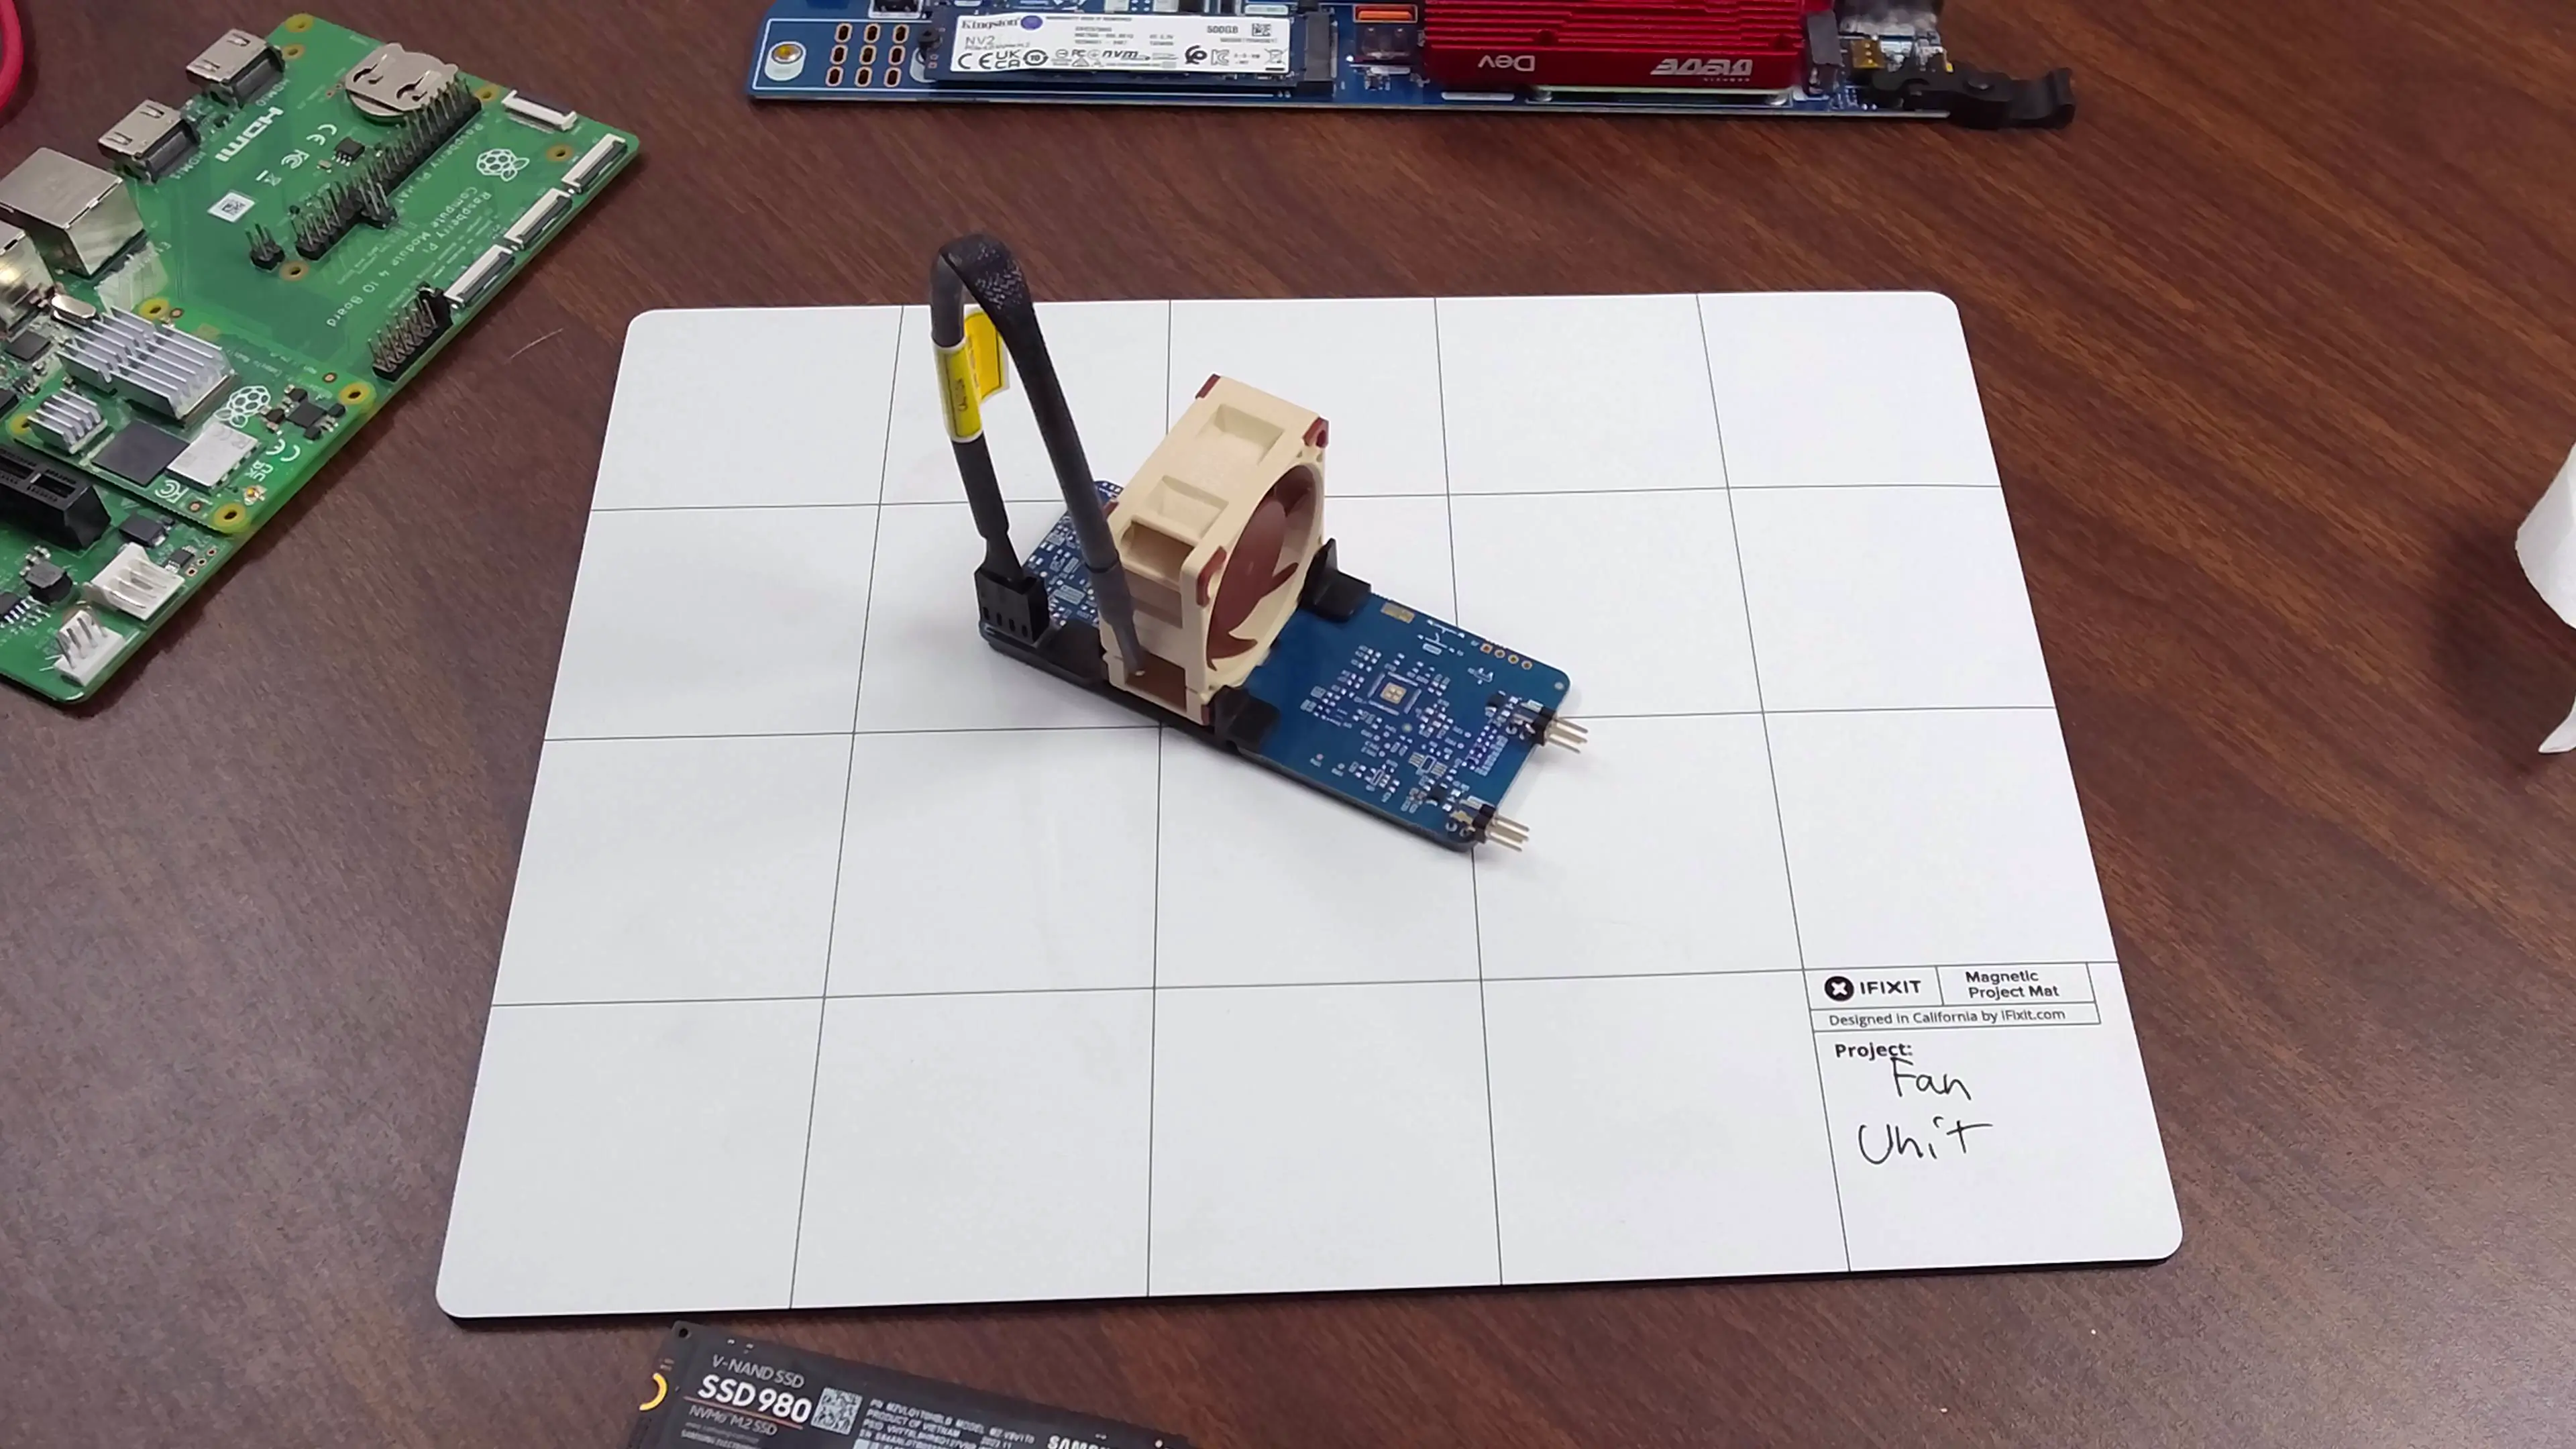
Start by installing the brackets onto the Fan. The brackets are toolless and will snap right on.
The Fan Brackets are not symmetrical; ensure that the fan is correctly oriented for your desired air flow configuration.
Next slide the fan with the brackets into the Fan Unit board
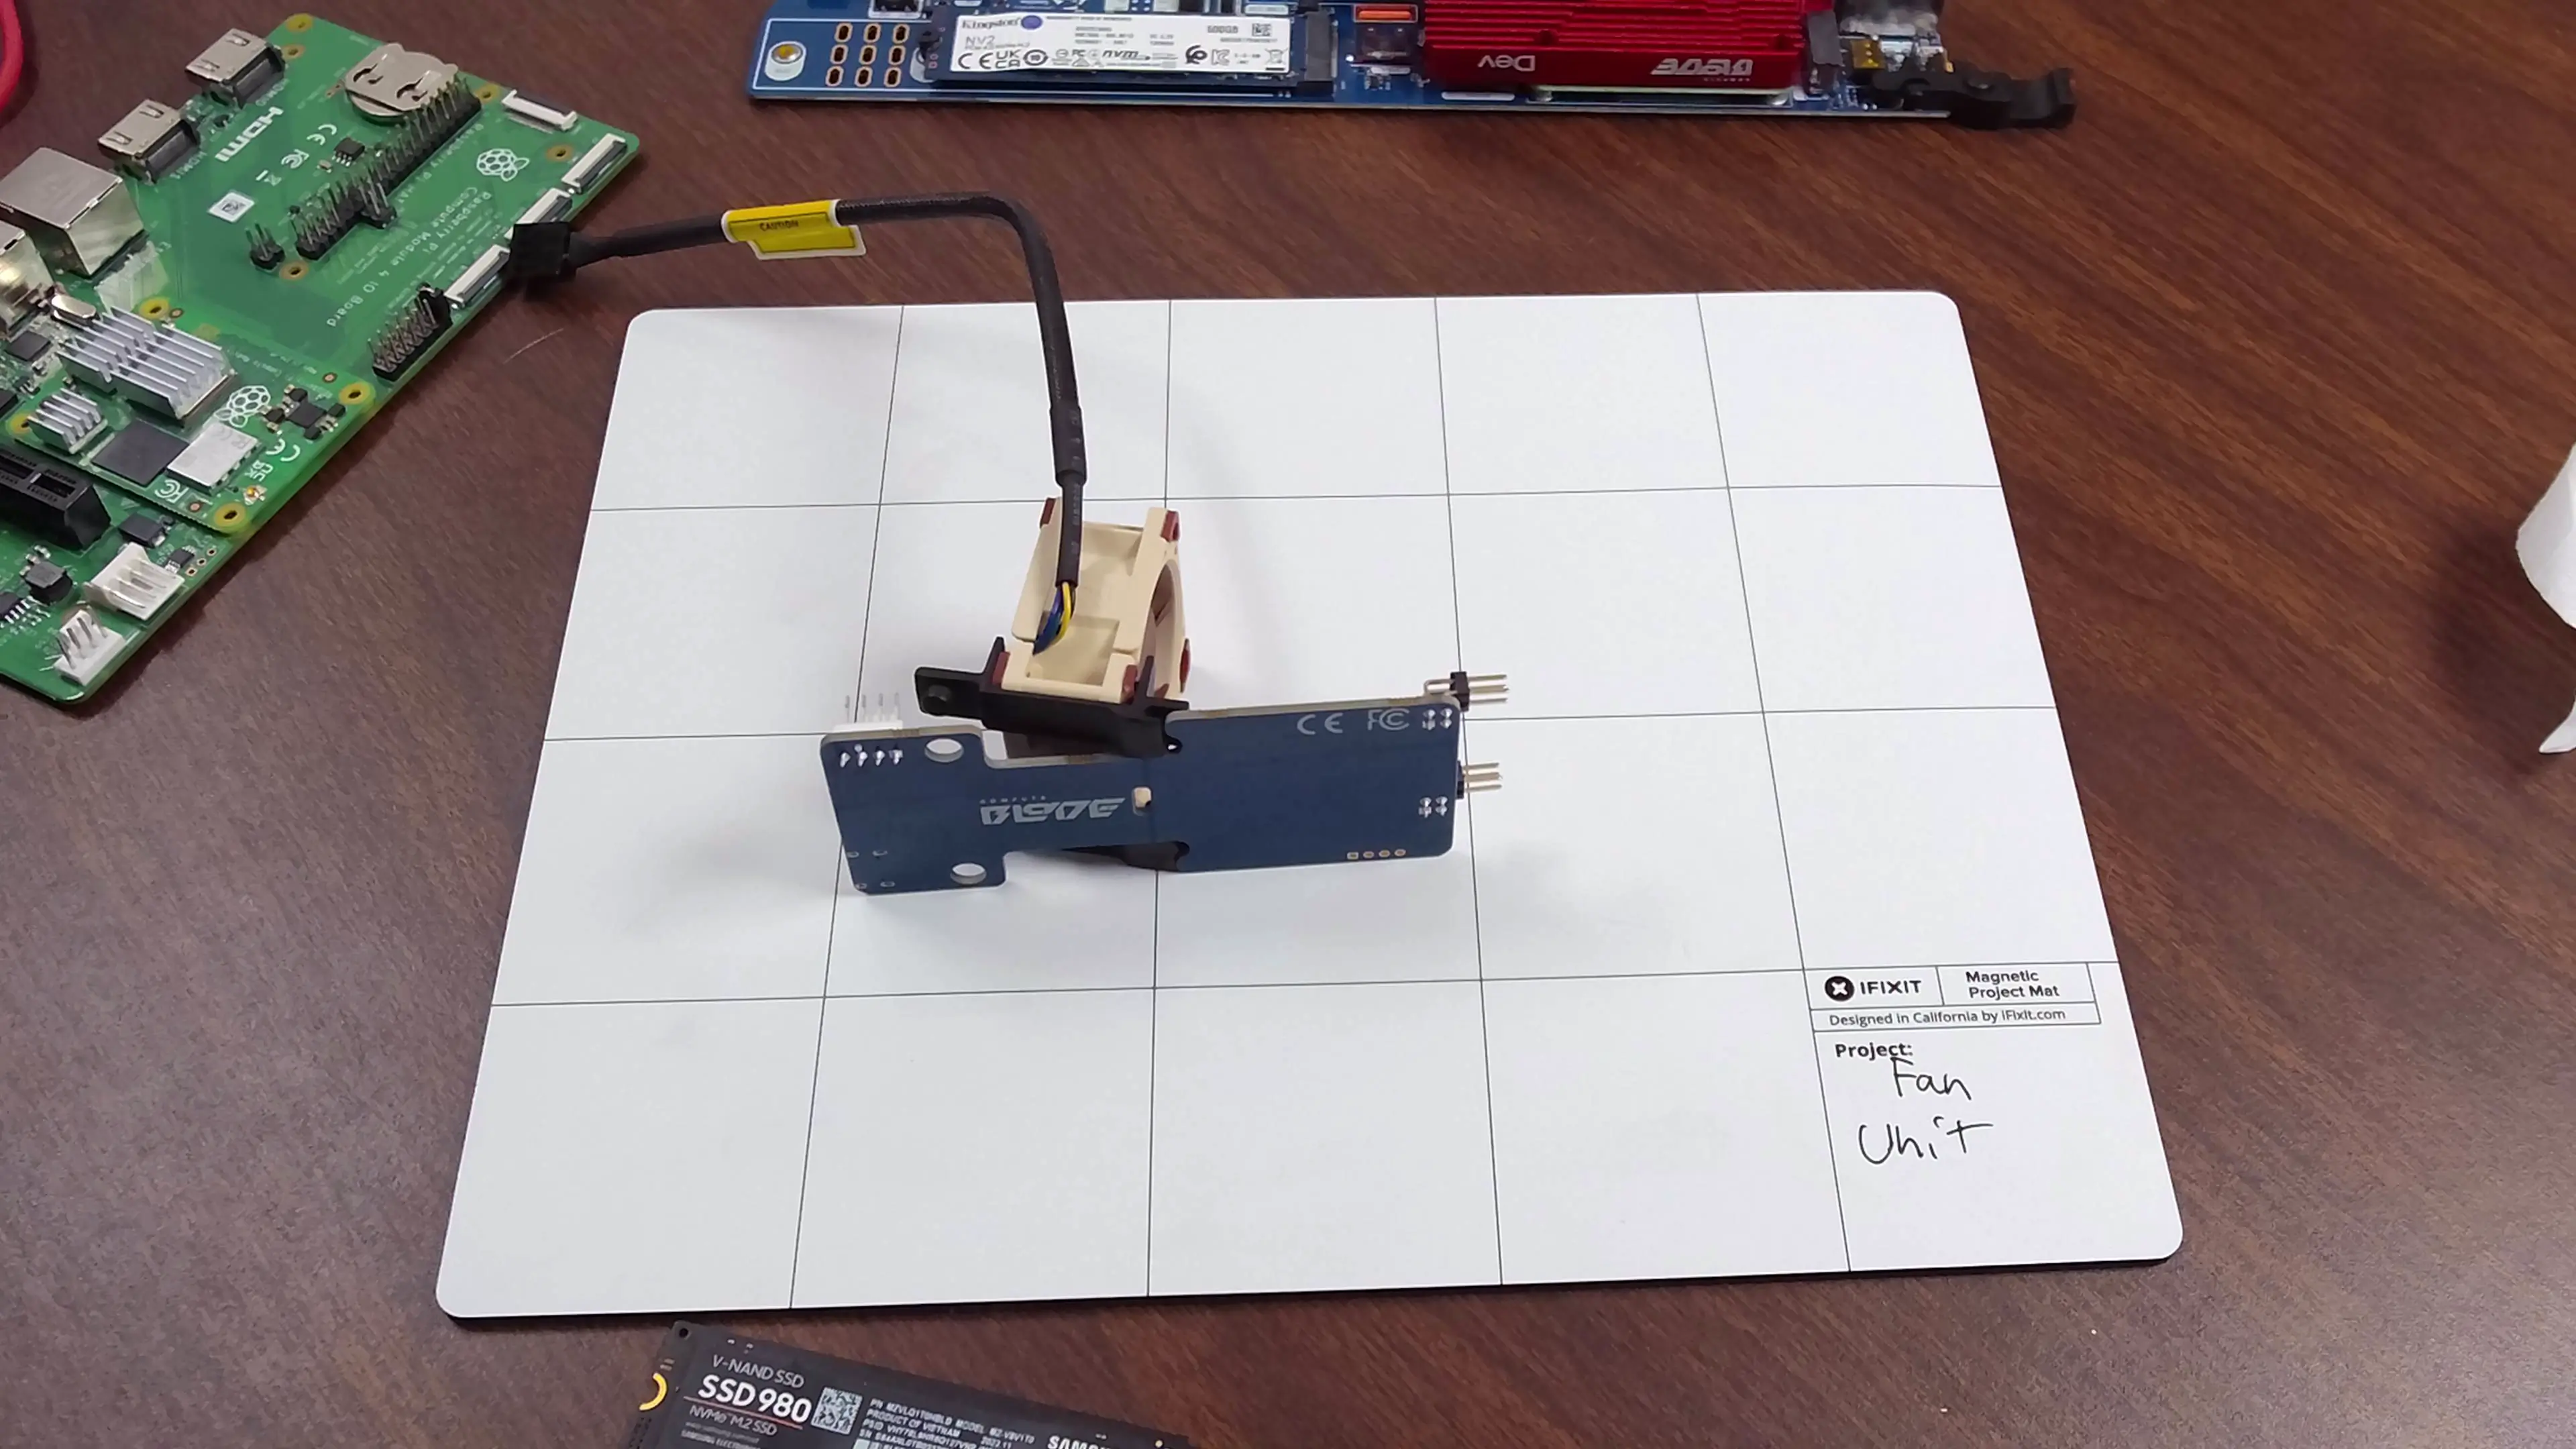
Finally, connect the Fan to the 4-pin fan header on the fan unit board.
Connecting to Compute Blade
The Fan Units are only designed to work with the BladeRunner™™️ enclosures
When connecting the blade to the Fan Unit the boards should be 90° relative to each other. They use a square 4-pin connector and it is possible to connect them incorrectly out side of a BladeRunner enclosure. To avoid this please only connect the Fan Unit to the Compute Blade in a BladeRUnner Enclosure
Plugging the Compute Blade into the Fan Unit incorrectly may lead to permanent damage to the Fan Unit, Blade, and any device installed on the Blade.
