Assembly
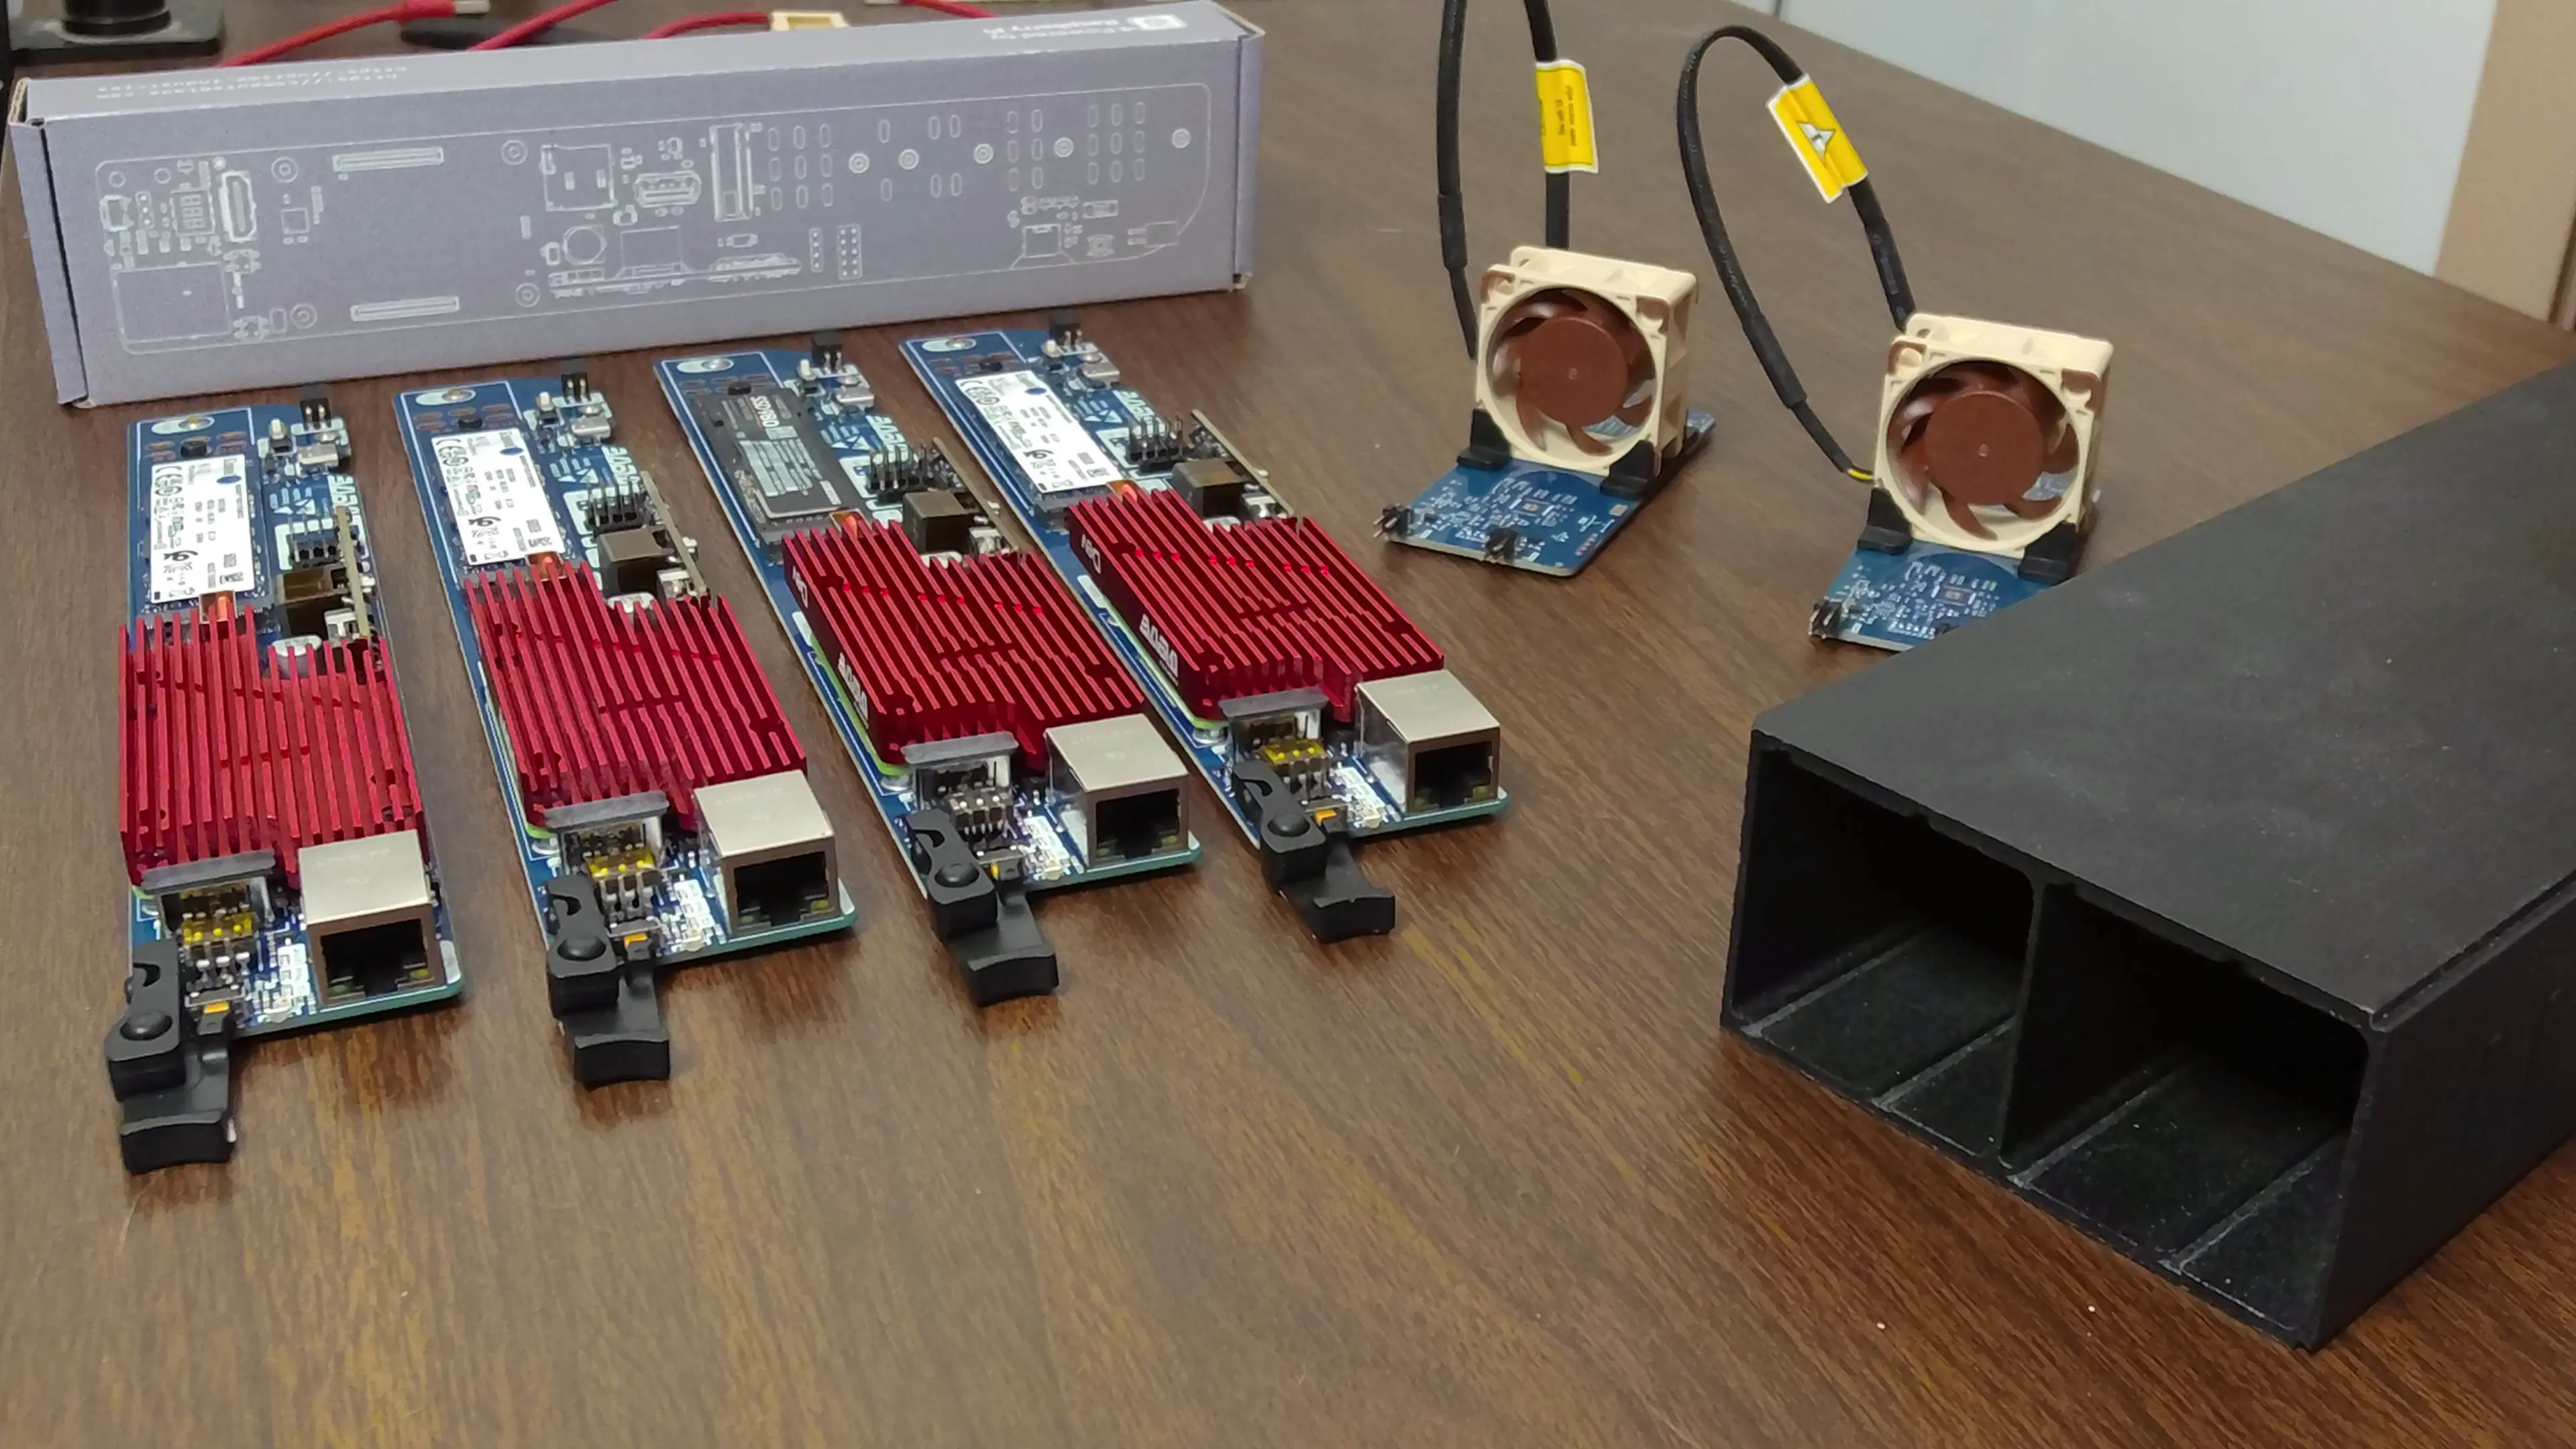
The 4-node BladeRunner™️ toolless allowing the quick replacement of part in the event of a failure. It is able to contain 4 Compute Blades and 2 Fan Units
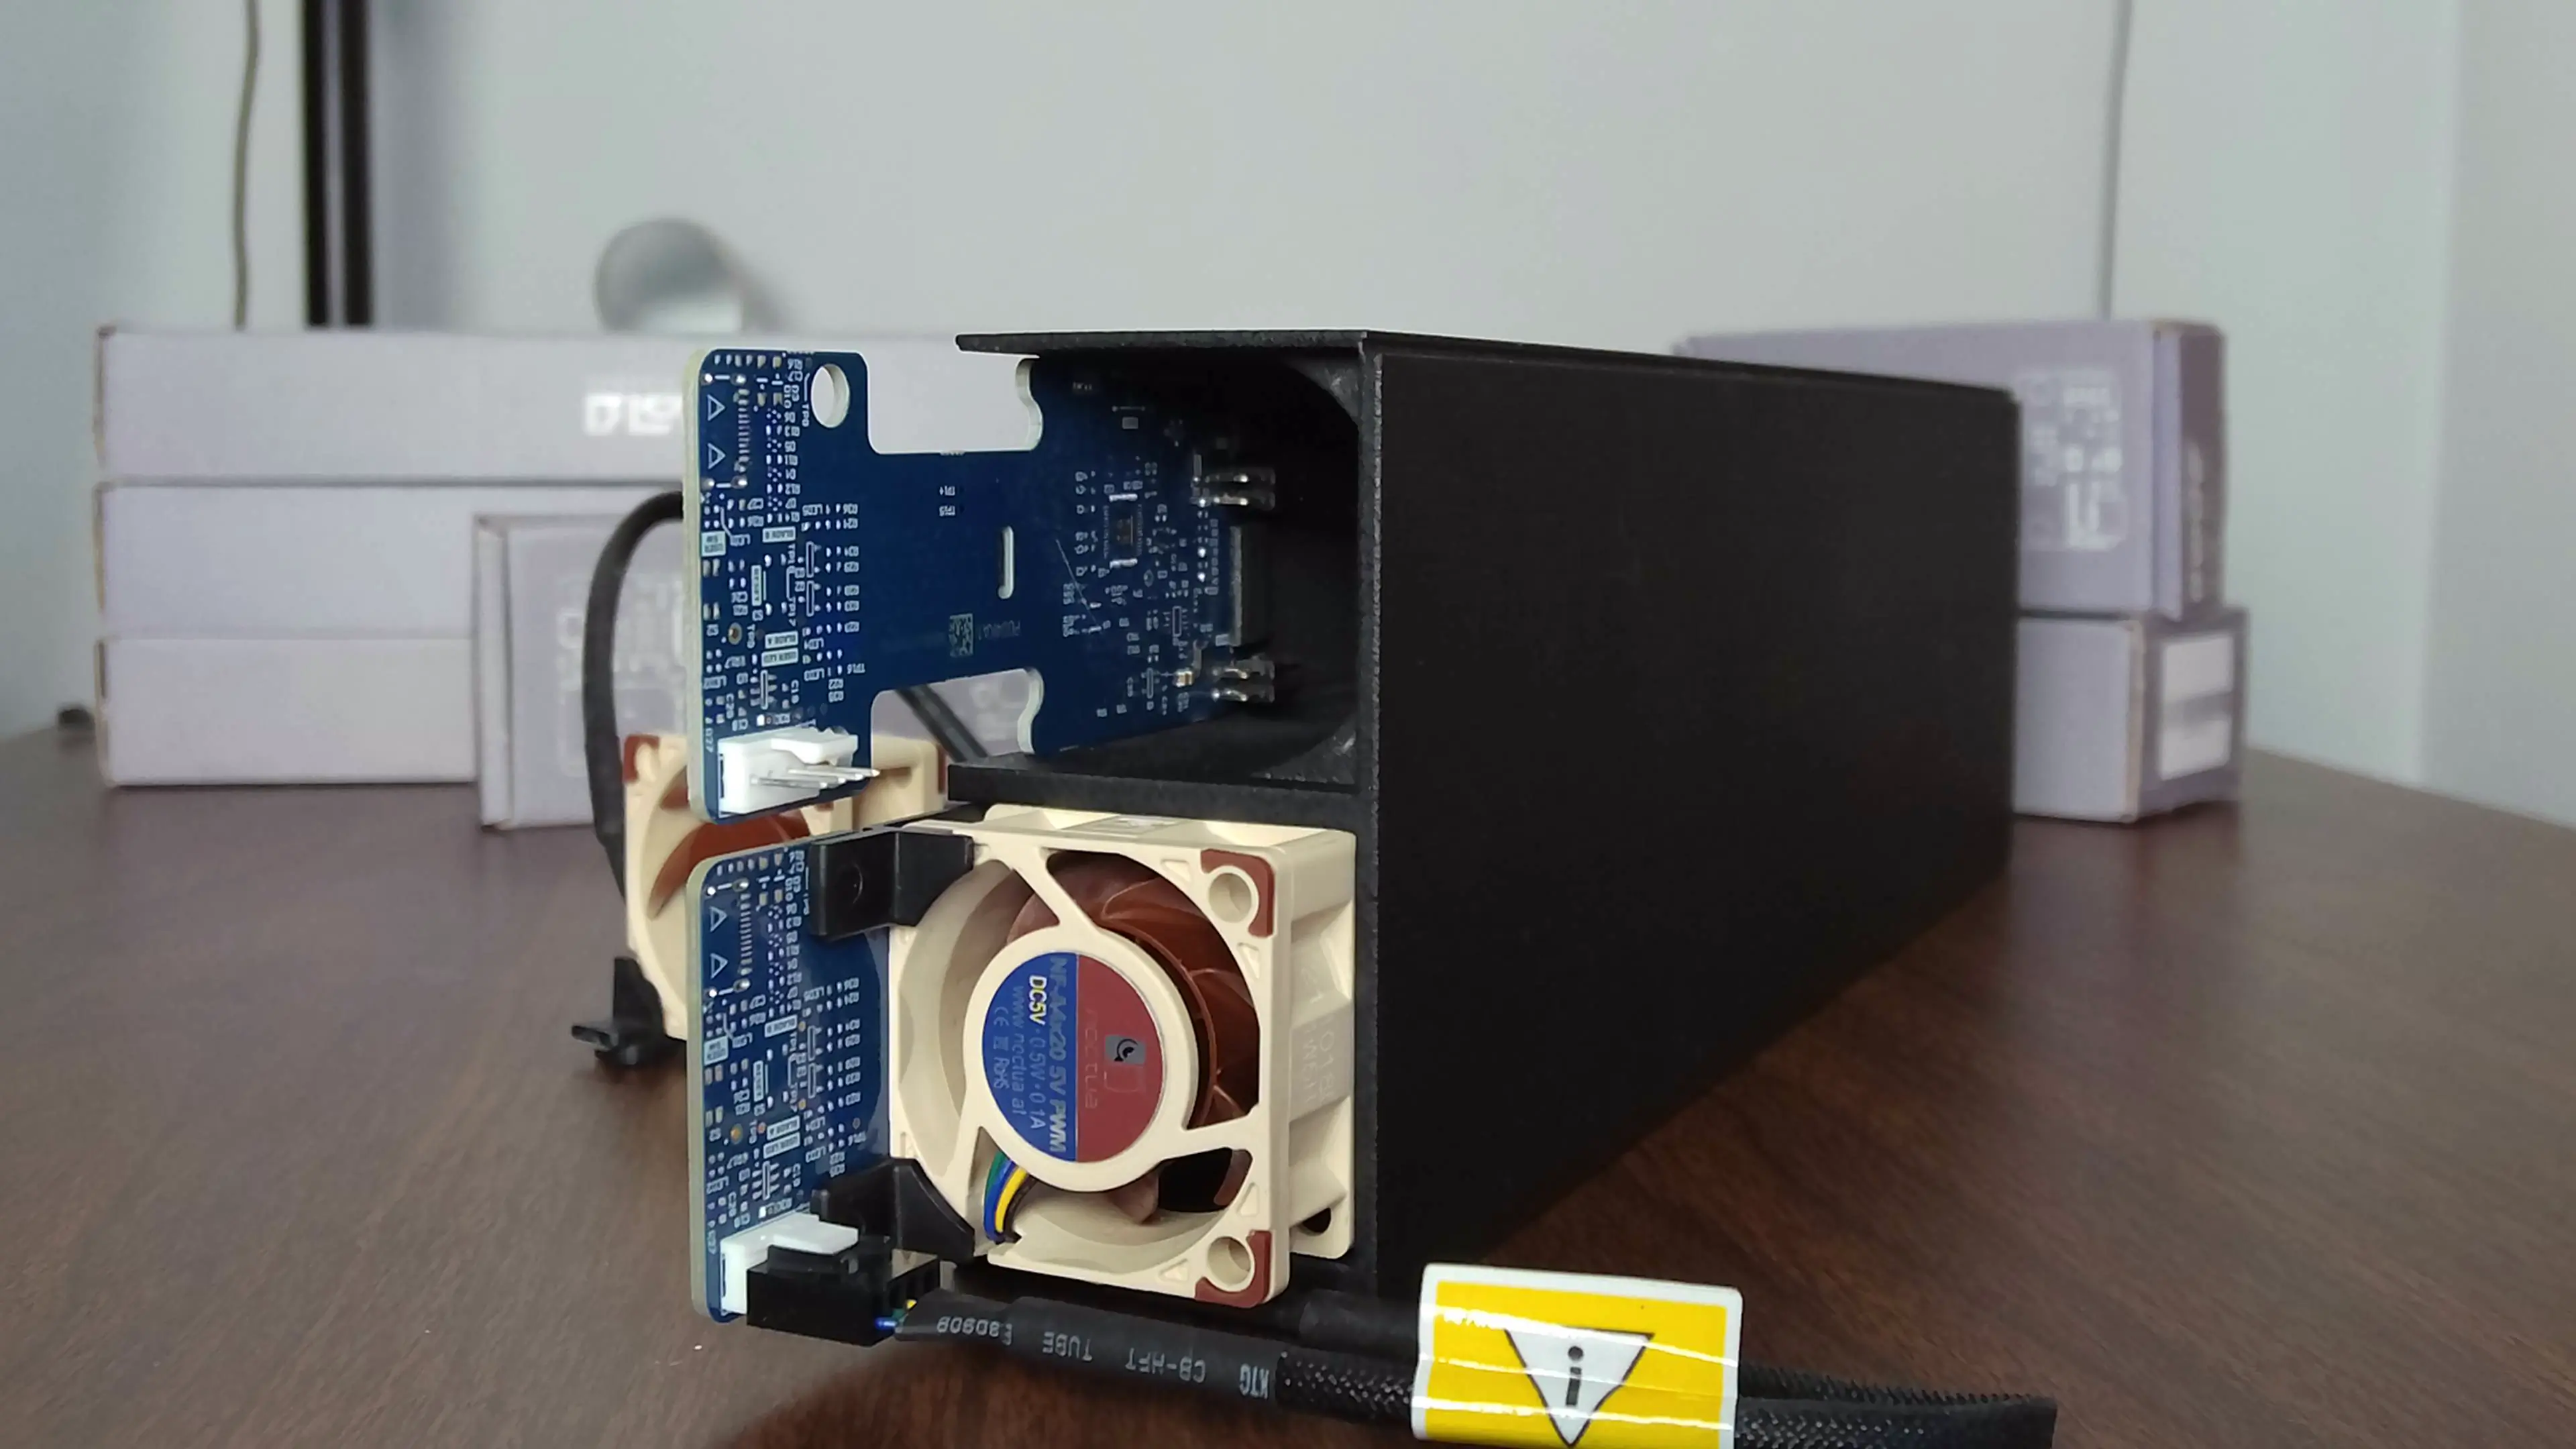
Fan Unit
The 4-node BladeRunner™️ is designed with the Fan Unit in mind
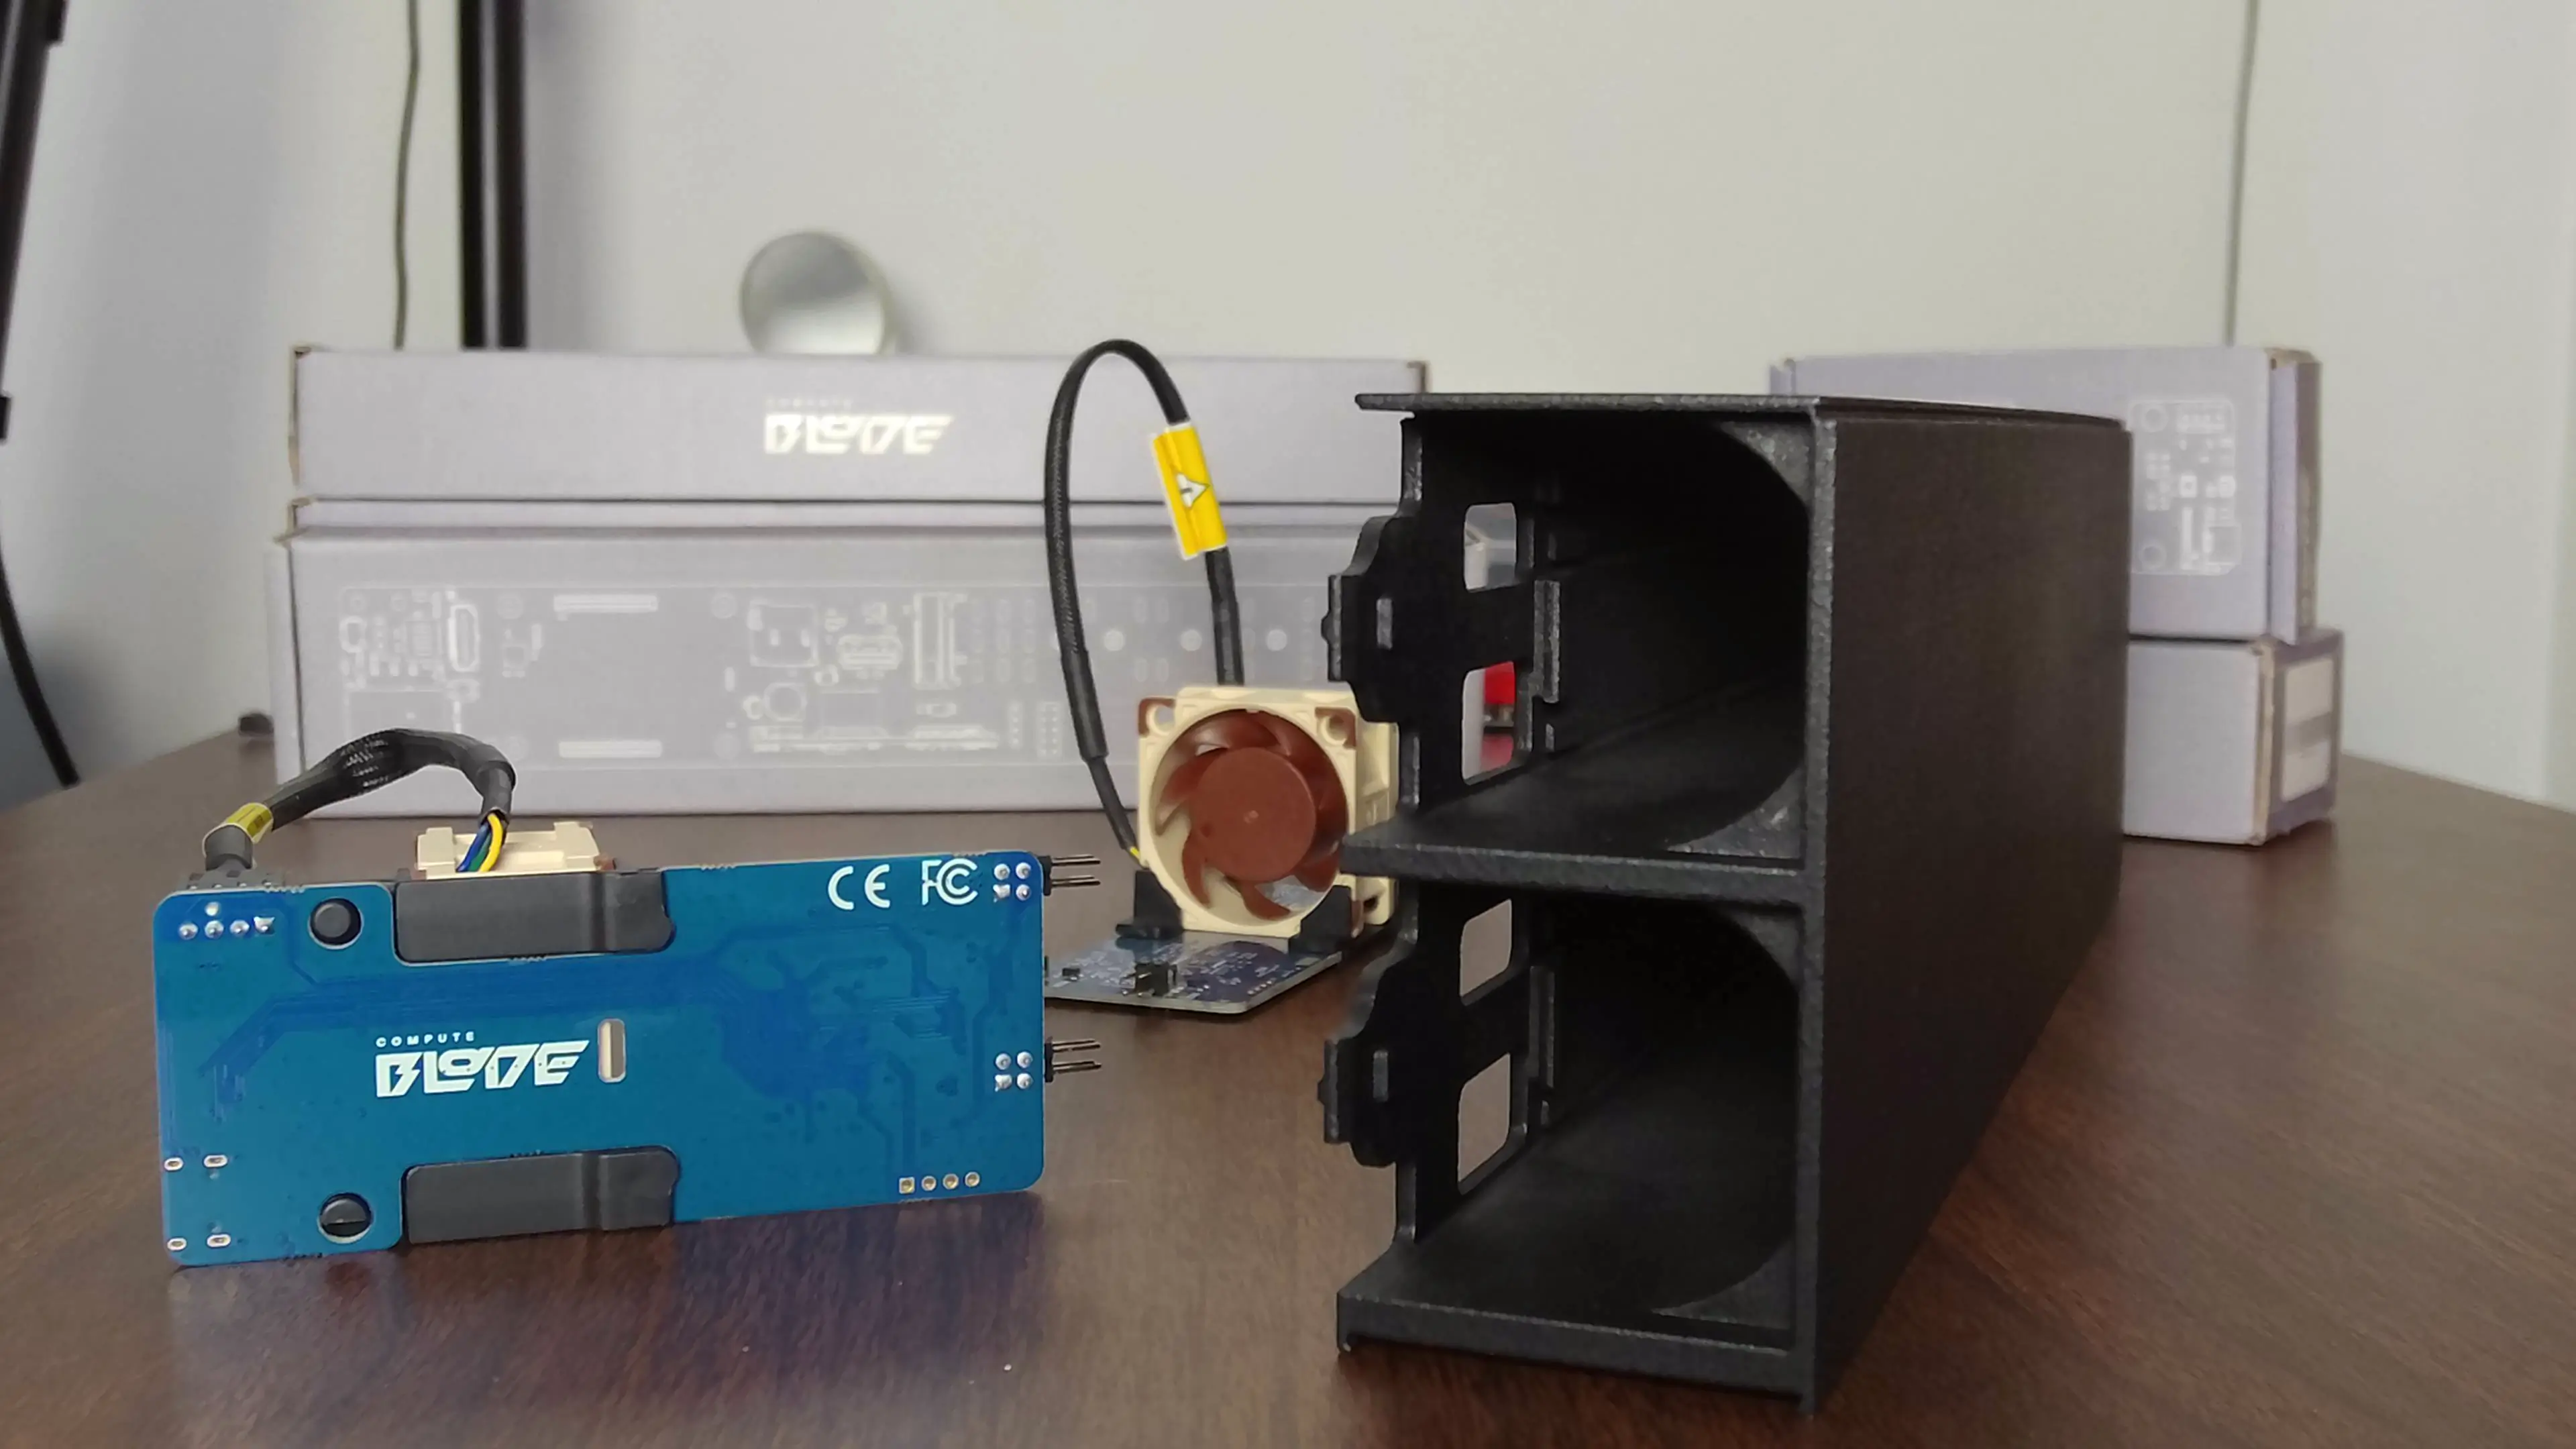
Insert the Fan Unit into the back of the 4-node BladeRunner™️ Making sure the fan unit is under the small catch. The The fan unit will snap into place with the fan seated just inside the 4-node BladeRunner™️
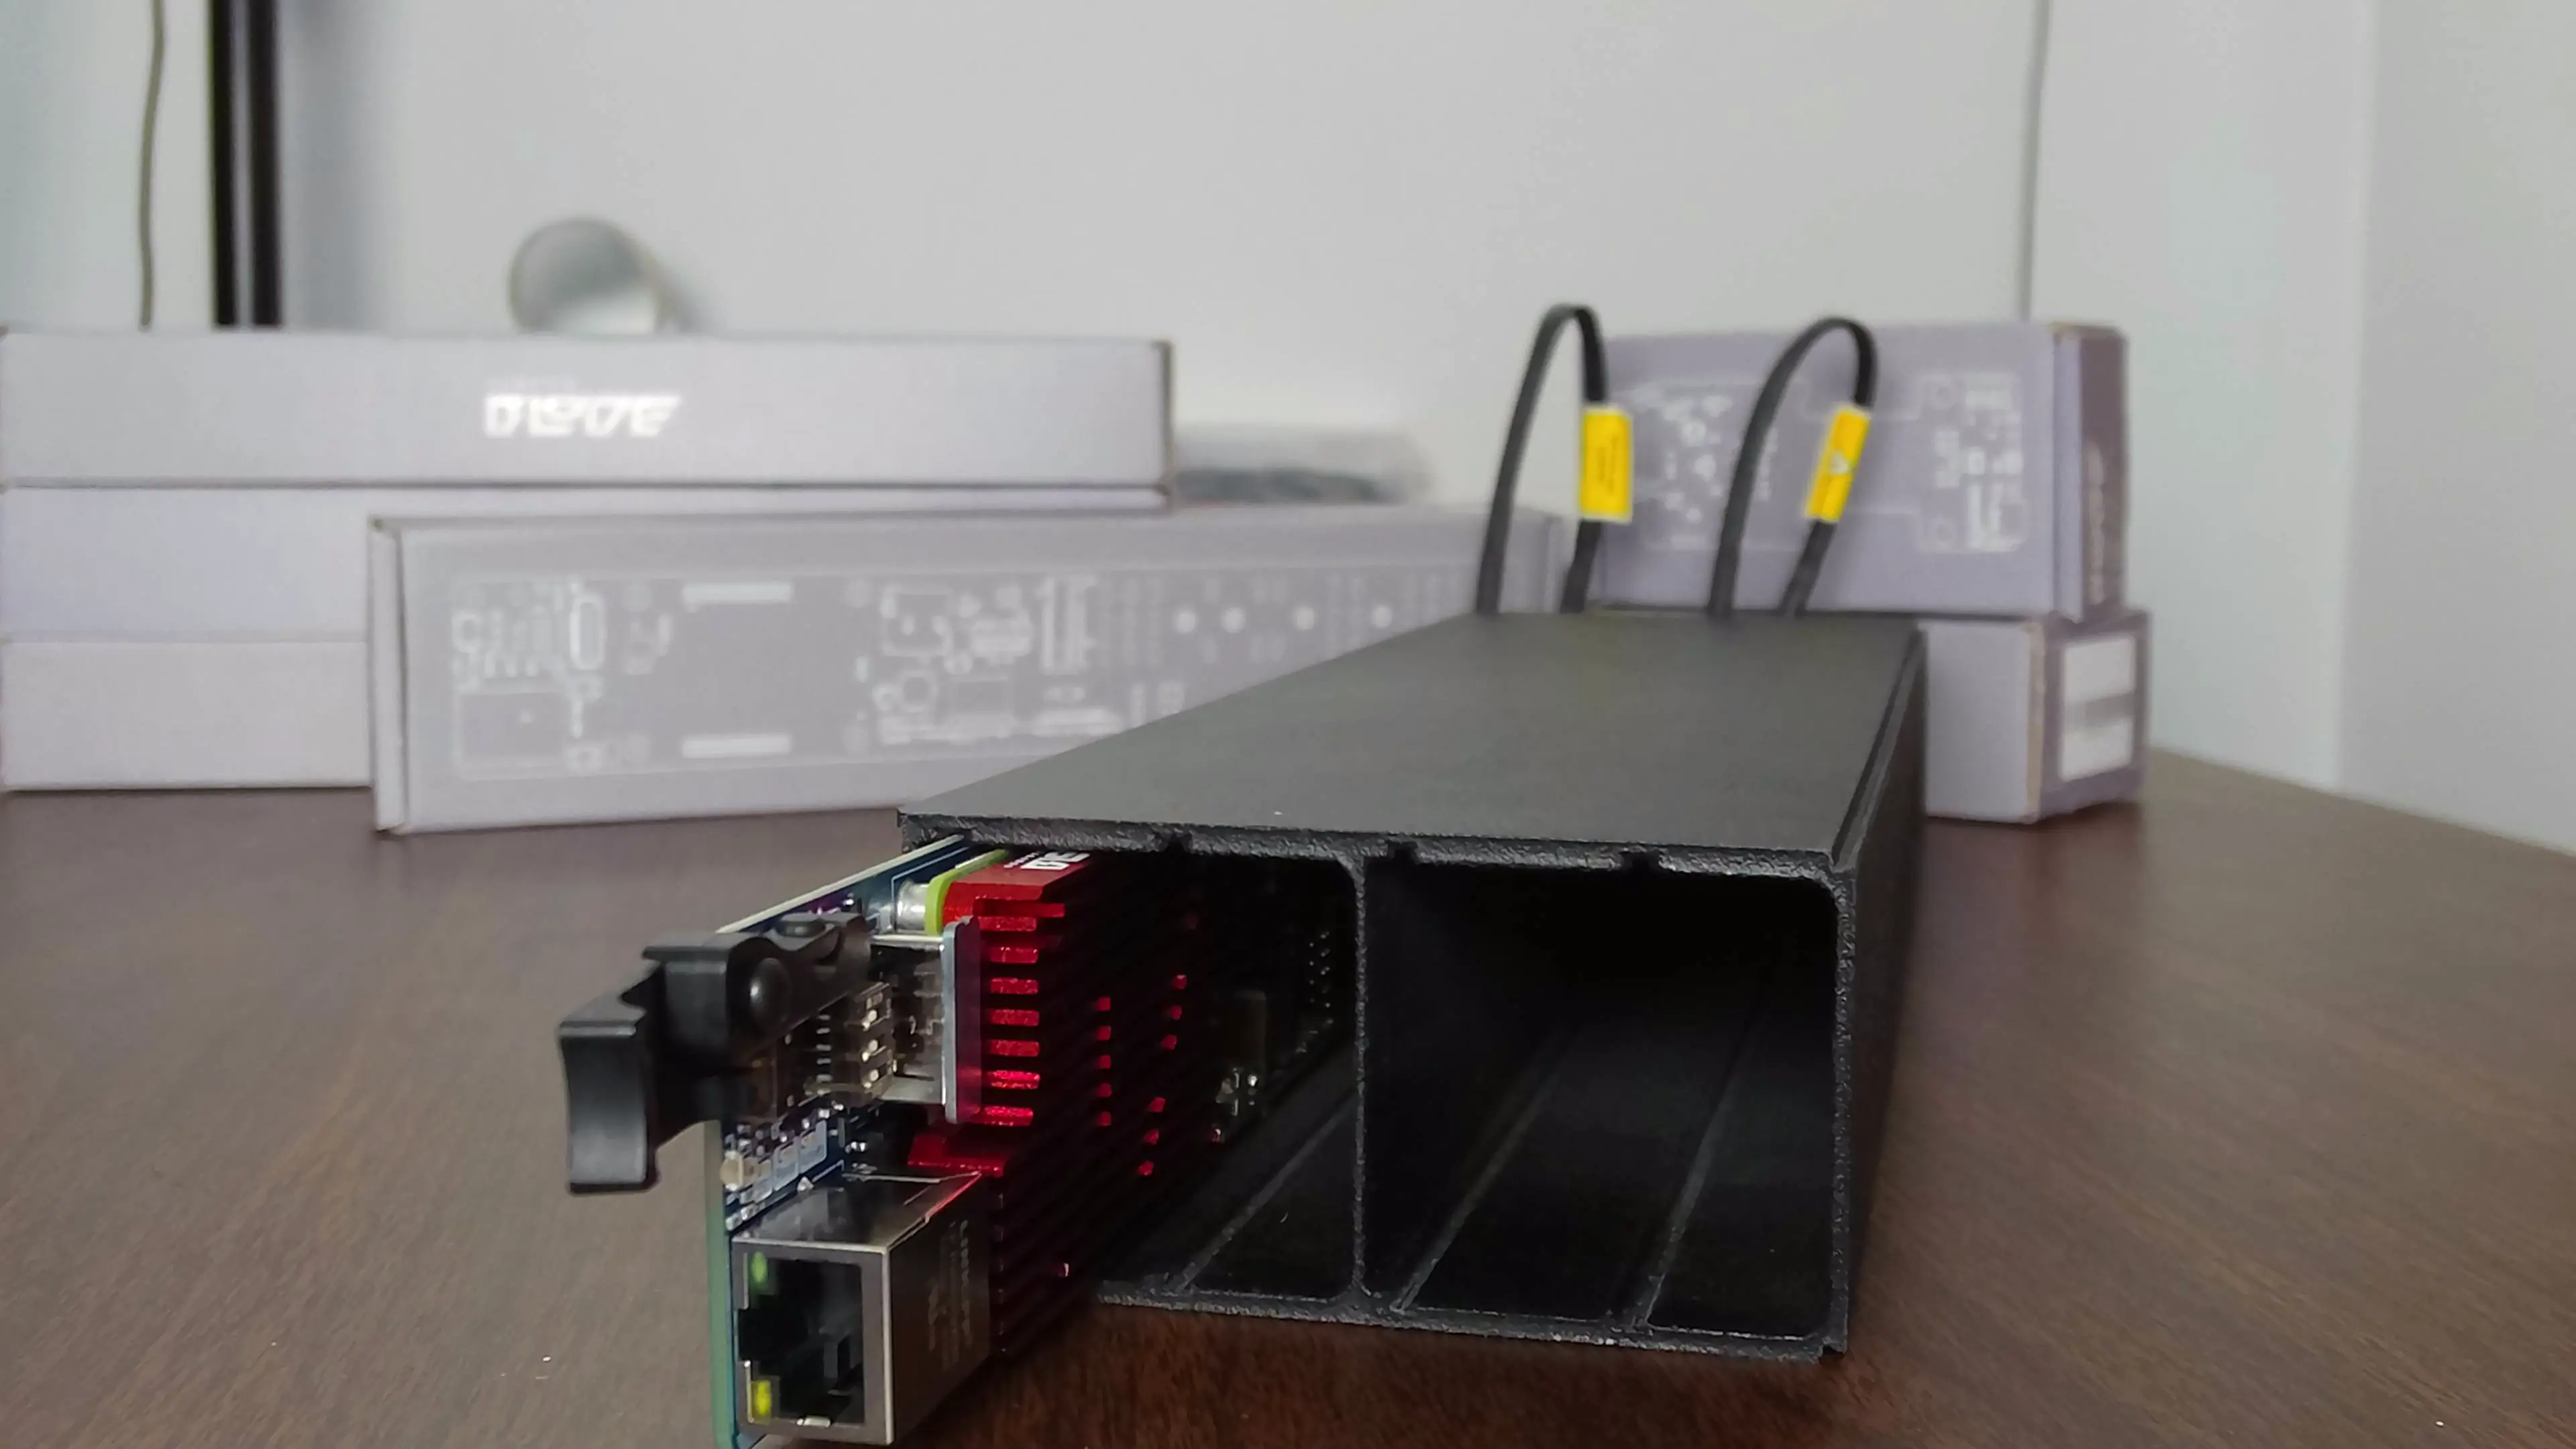
Compute Blade
The Compute bade are inserted in to the front of the 4-node BladeRunner™️, align the blade with the groves
If the blade does not slide all the way back, It is possibles for the fan connecter to become misallied. Check that the Fan unit is Full Seated in to the blade runner. Then are full re-insert the Compute Blade.
Power
The 4-Node bladeRunner can only be powered using Power over Ethernet(PoE). It is recommended that a PoE enabled network switch be used. Refer to the Power section of getting started to connect PoE to the blade.
Expanding
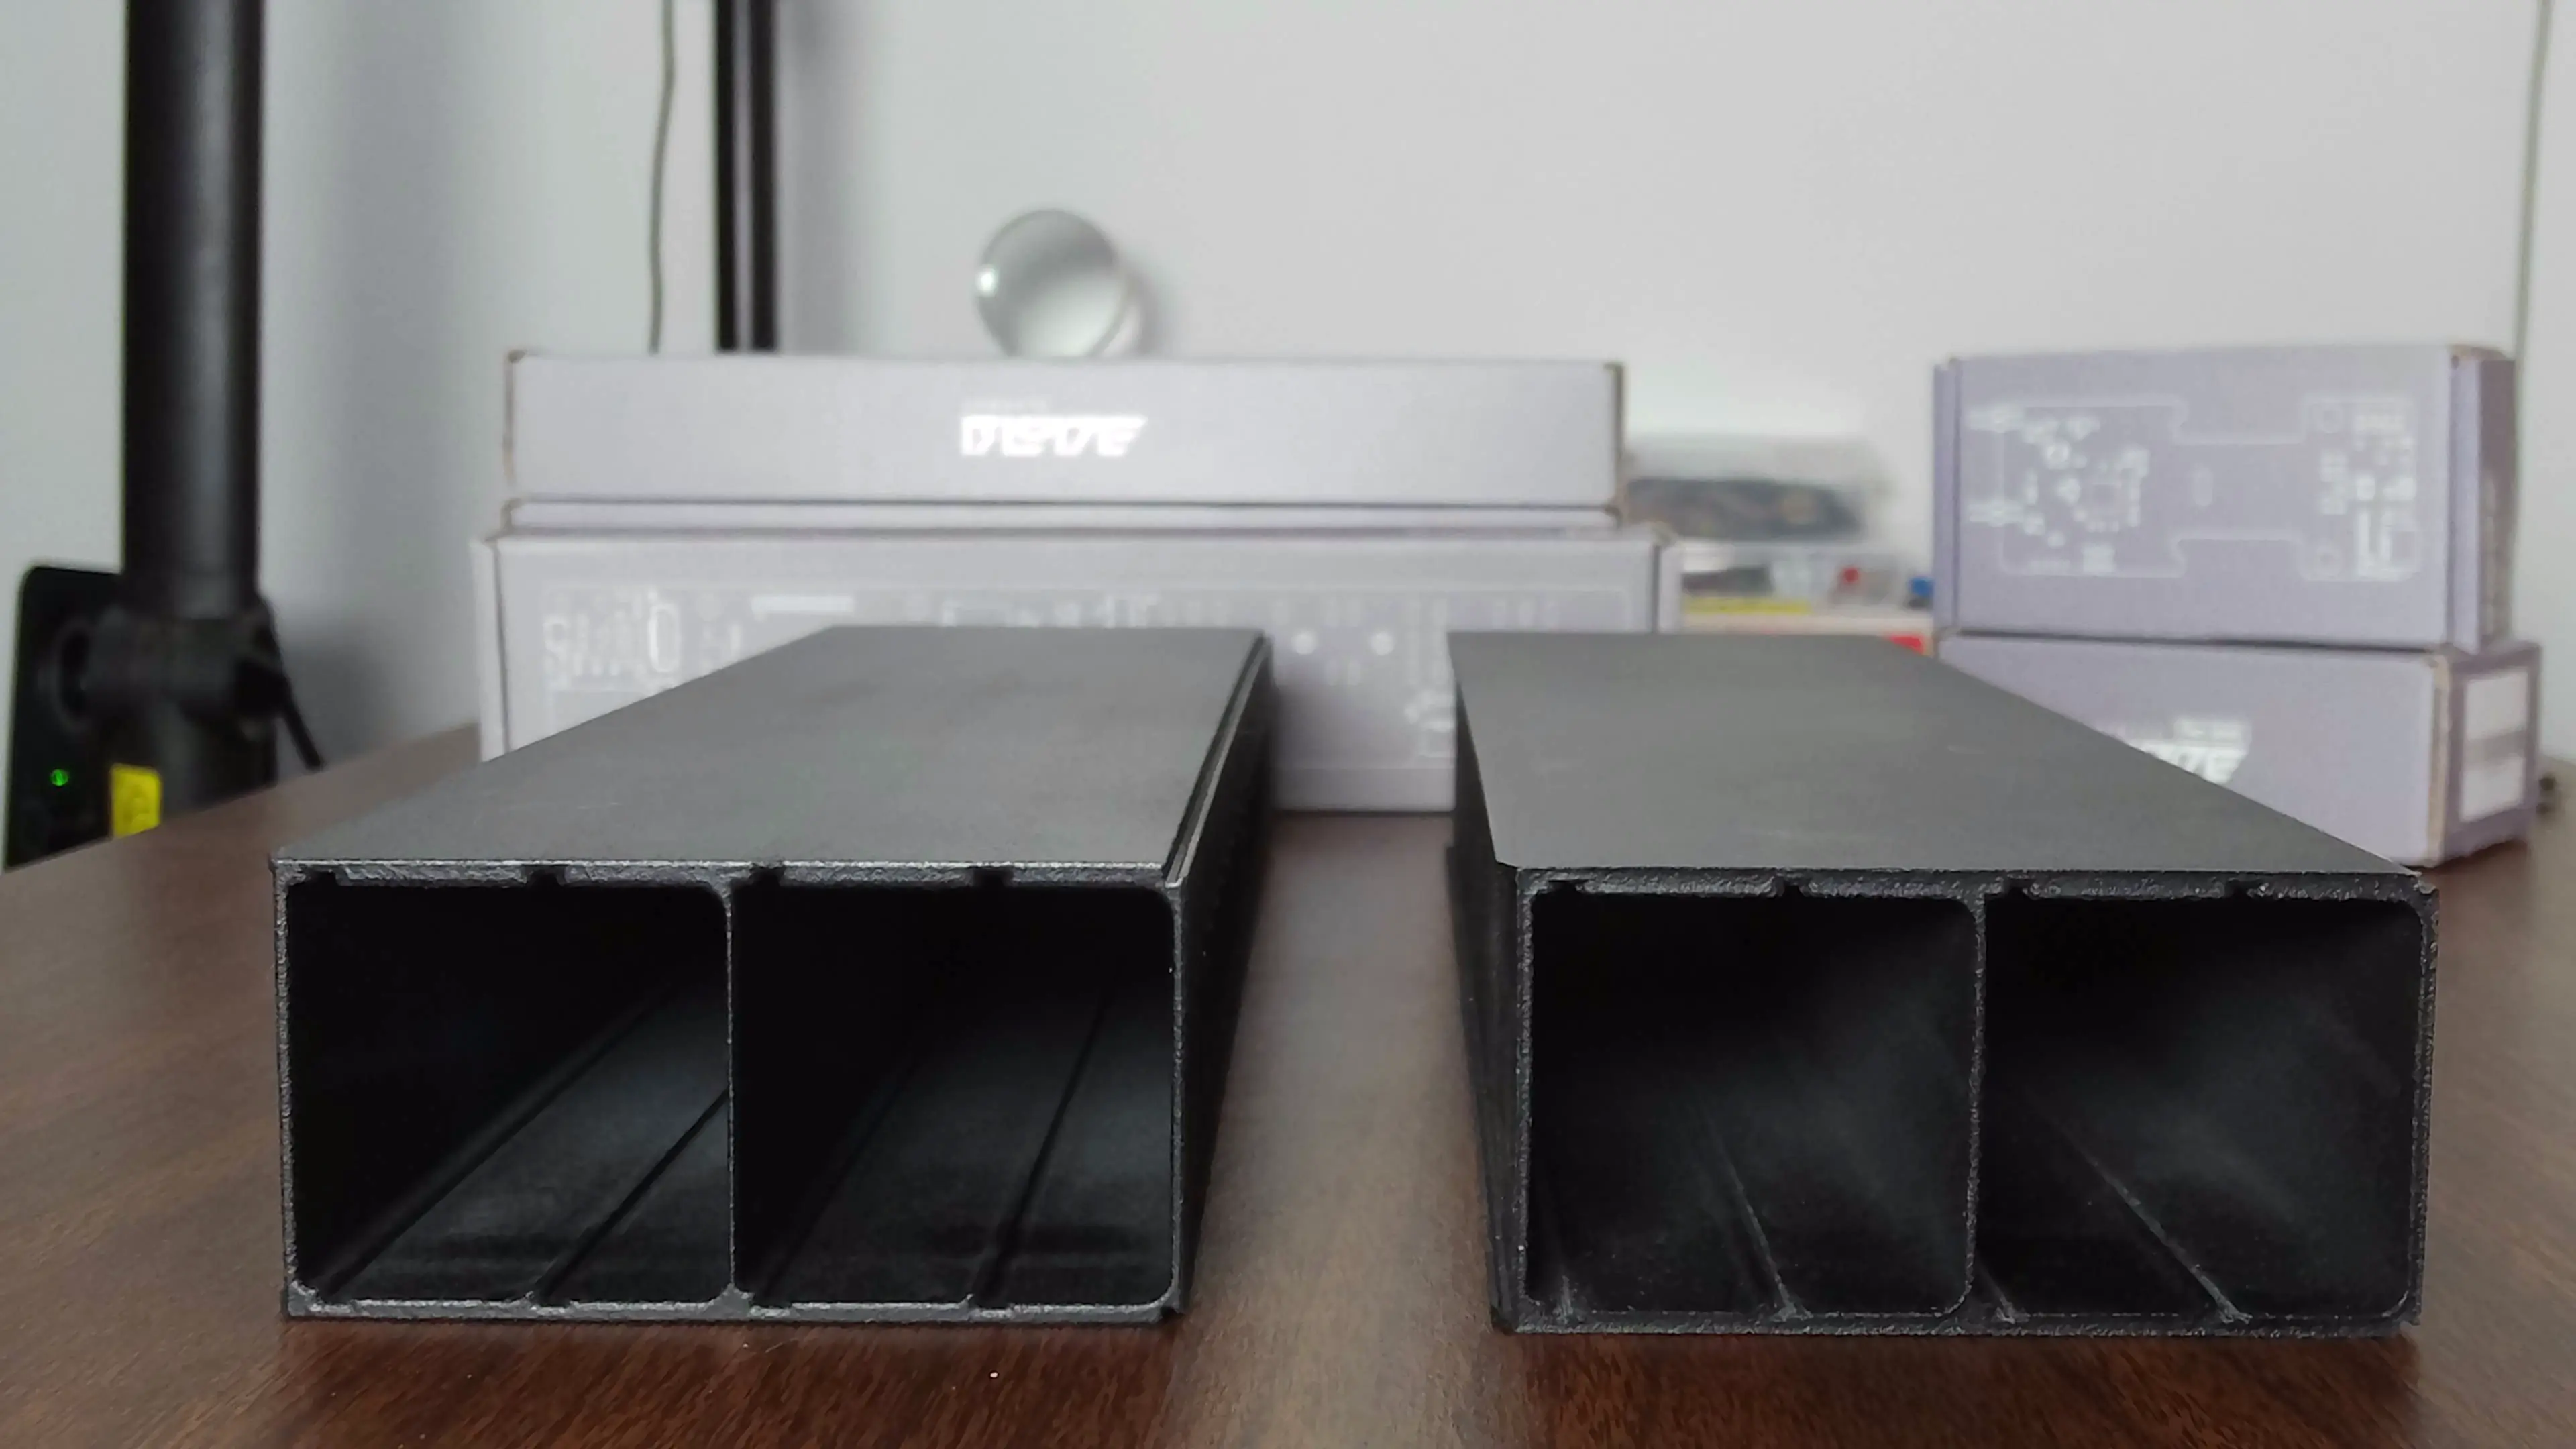
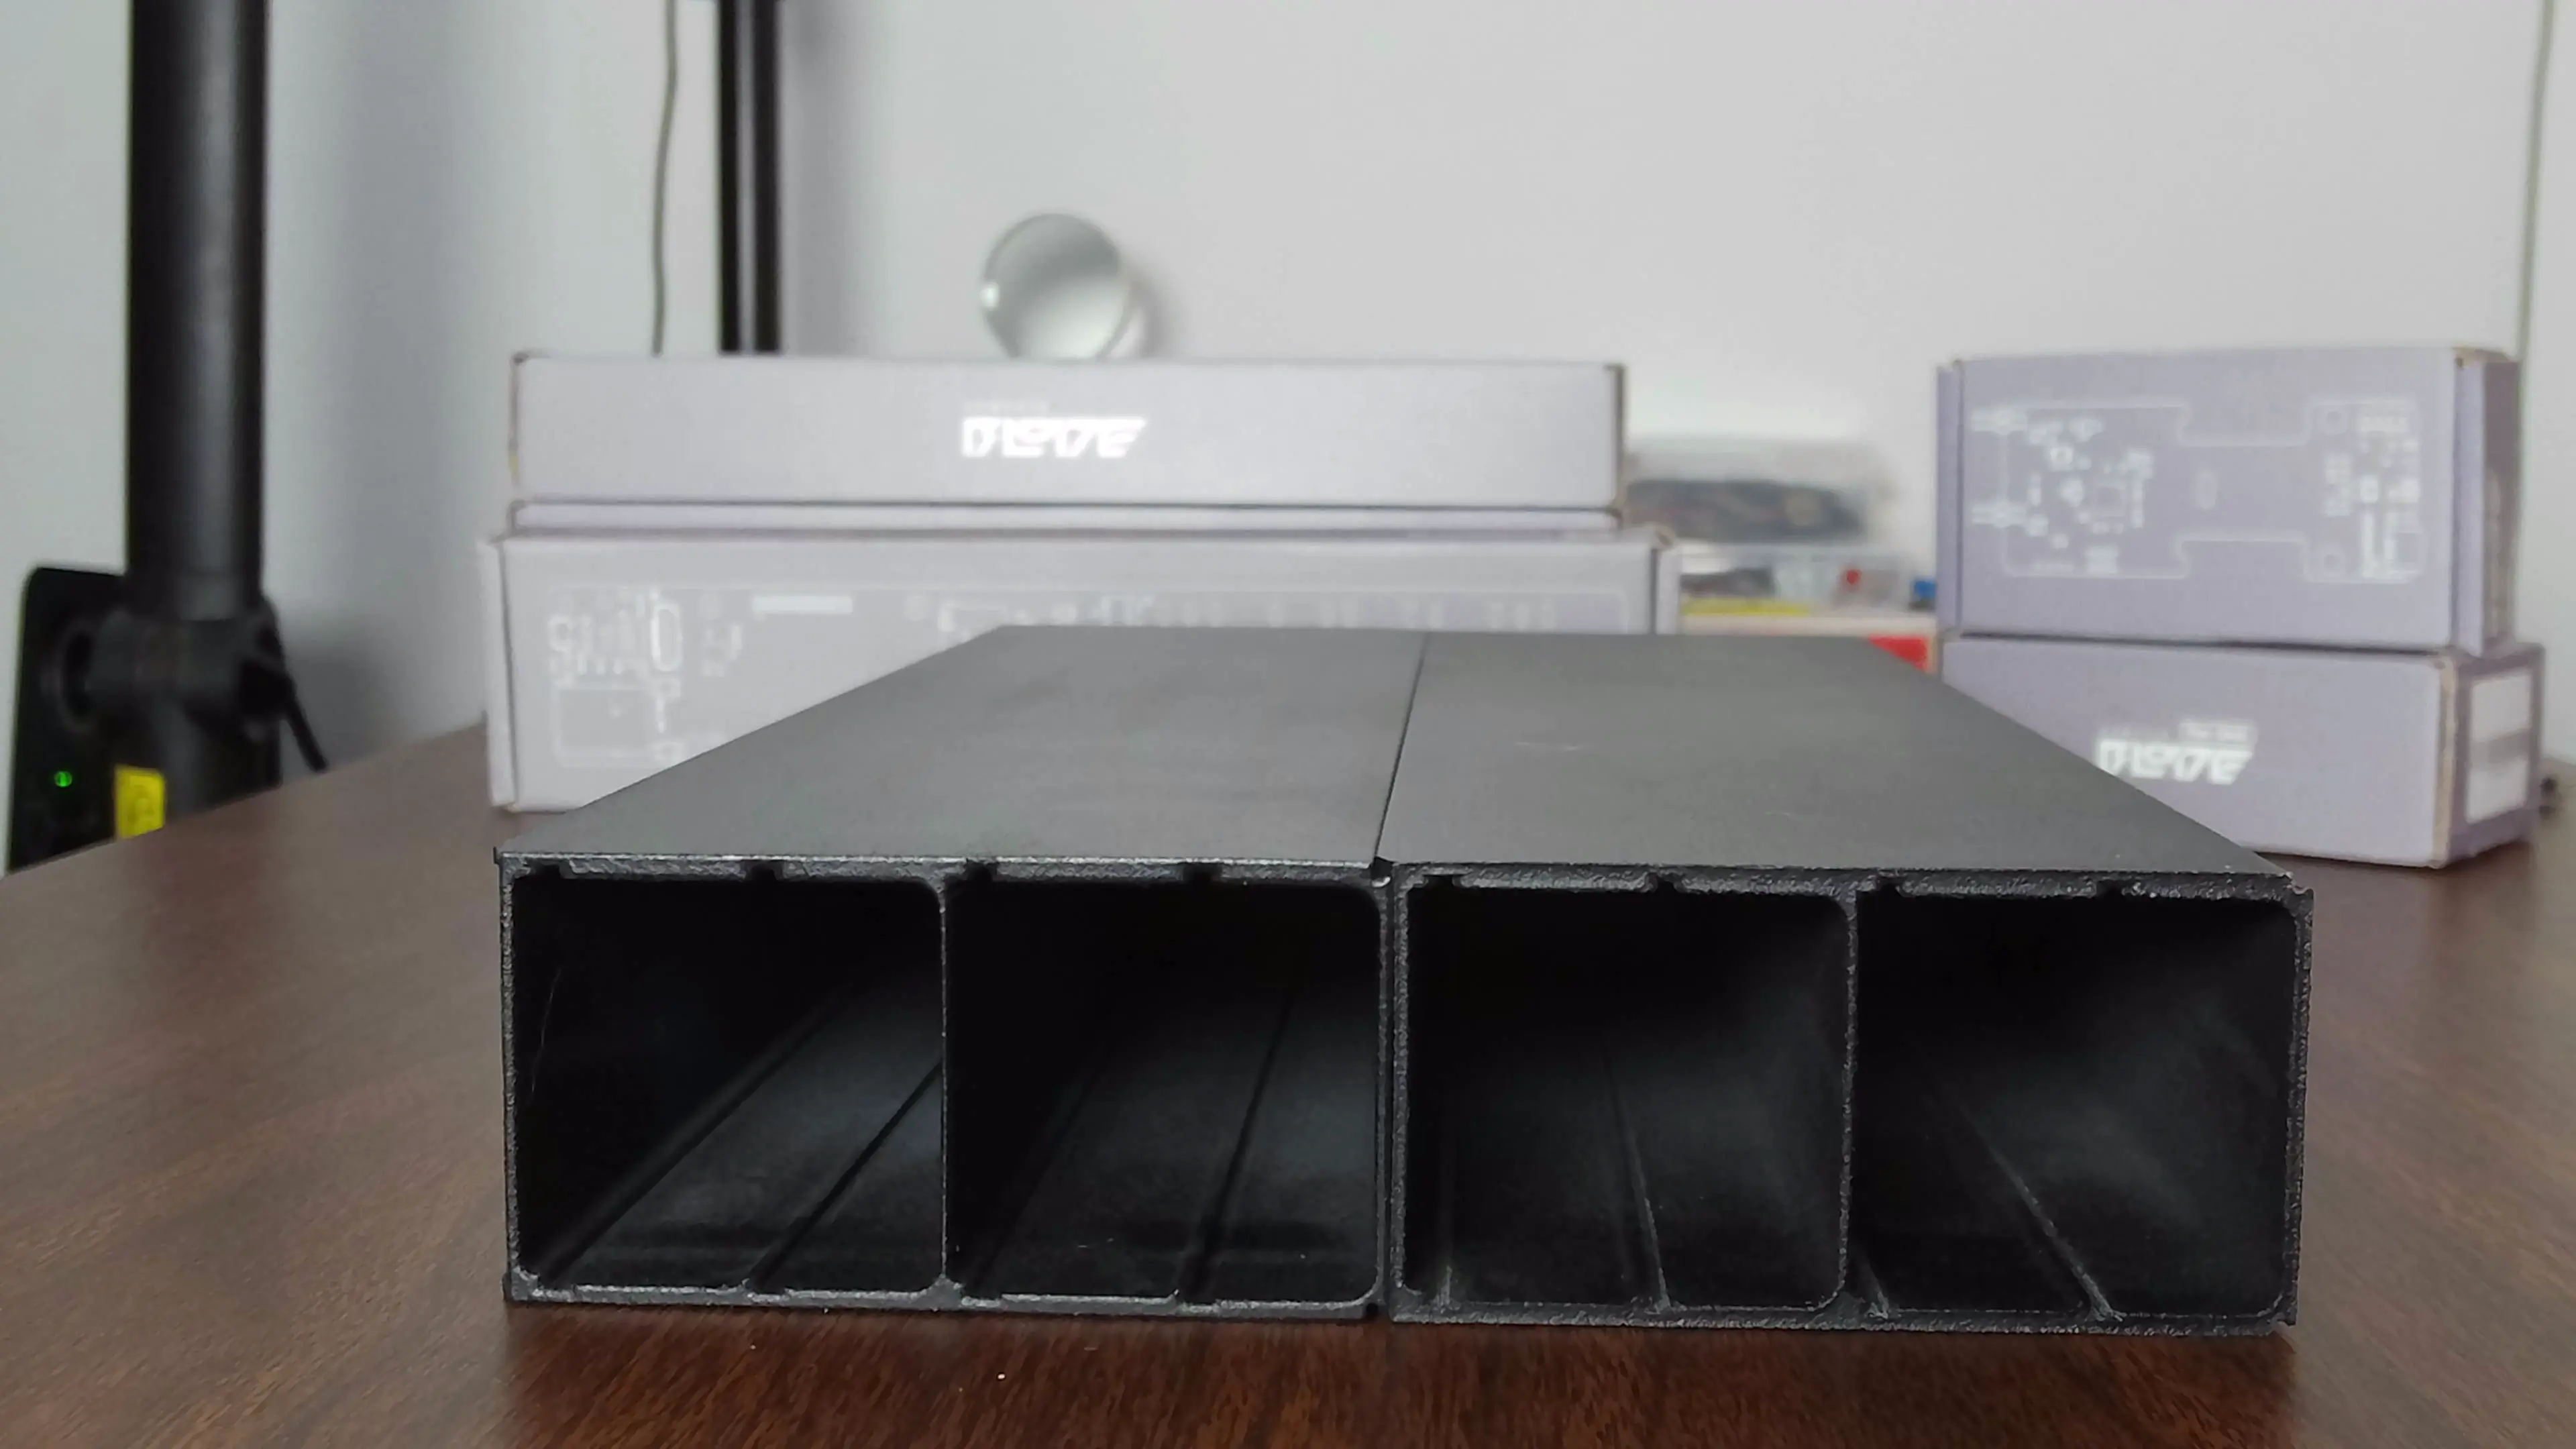
4-node BladeRunner™️ can be joined together to create a larger enclosure
The tolerances on the 4-node BladeRunner™️ use a tight friction fit and a rubber melt be require to assemble and disassemble